How to Inspect Your Car for Fair Wear and Tear

Quick answer: Work through your car panel by panel against your own lease company's fair wear and tear standard, not general impressions. Photograph every mark with a ruler for scale, film a full walkaround, then compare what you find to the charge matrix before booking any repairs.
Getting this wrong costs money in either direction. Fix things that were never going to be charged and you've spent money for nothing; miss something an inspector catches and you're paying more than you should. The difference between an expensive lease return and a straightforward one usually isn't the car itself, it's whether you knew what to check and when to check it, and that's what this page is for: what to look for, area by area, and what to actually do once you've found it.
What "fair wear and tear" actually means
Most people assume a few dents and scratches on a three-year-old car count as fair wear and tear, because that is roughly what they would live with if they owned the car and were not selling it. That is not the test a lease company uses. The real question is whether a mark could reasonably have been repaired and was not, because the car does not belong to you at the point it goes back. See what is fair wear and tear for the full definition, and what is devaluation for why the standard is this strict in the first place: a lease company's margin depends on what the car fetches at auction, and every mark still there at collection is money they will not get back.
Common thresholds at a glance
These figures come up repeatedly across UK lease companies' fair wear and tear standards, gathered from the sources compared throughout this page rather than reproduced from any single company's document. Treat them as planning numbers, not your actual charge matrix.
| Area | Typical threshold | Notes |
|---|---|---|
| Scratches | ~25mm | Only if the clear coat isn't broken through to primer or bare metal |
| Dents | ~10–15mm | No more than two per panel; swage lines and creases judged more strictly |
| Stone chips | ~2–3mm | Capped per panel before they add up to a chargeable cluster |
| Wheel scuffs (rim face) | ~50mm of circumference | Spokes, fascia and hub face judged far more strictly than the rim edge |
| Tyre tread | 1.6mm legal / ~2mm typical lessor minimum | Measured across the central 75% of the tread |
| Windscreen chips, centre | ~10mm | In the driver's direct line of sight |
| Windscreen chips, elsewhere | ~40mm | In the wiper-swept area |
These are commonly-cited planning figures, not a universal standard. Every lease company's copy of the fair wear and tear guide differs slightly, and theirs is what actually decides your bill.
What you'll need
You don't need much, but the few things you do need make the difference between a useful inspection and a wasted afternoon. Get these together before you start:
- Your lease company's copy of the BVRLA guide, or their own equivalent fair wear and tear standard, plus the threshold and charge matrix that applies to your contract
- A clean, dry car in a clear space, ideally two to three metres of room on every side
- Good natural daylight
- Something to kneel on, and something to stand on if the car is tall enough that the roof and upper panels are out of easy reach
- A ruler or tape measure, plus some masking tape to flag anything you want to come back to
- Your phone, for photos, video and the checklist itself
A second pair of eyes helps more than anything on that list. One person looking, one photographing and noting things down, catches far more than one person doing both.
Before you start: light, weather and timing
Start earlier than feels necessary. BVRLA's own guidance is to begin appraising the car ten to twelve weeks before it goes back, and that sounds generous until you remember what it buys you: time to get quotes, time to book a wheel refurb before the good technicians are fully booked, time to let paint cure properly rather than rushing it. Do a proper walk-round at that point, then a shorter confirming pass a week or two before collection.
Daylight matters more than most people expect. A dent that vanishes under a workshop strip light or an indoor bulb will show up the moment the car sits outside under an overcast sky, which is exactly the light an official inspector works in on a damp collection morning. Wash the car first: marks hide under road film and you'll miss them if you don't. Park it in good daylight once it's clean, and walk it the same way every time so you don't skip a panel out of habit.
The trick our own technicians use is a raking light: a torch held low and to the side rather than straight on, so it throws shadow across the panel instead of flattening it. Swirl marks, shallow dents and fine scratches that are invisible under flat overhead light stand out immediately under a raking beam. Walk the full perimeter of the car this way, then crouch at the front and rear and sight along each bodyline; a dent that is invisible from standing height often announces itself the moment you get down to bumper level and look along the panel edge.
Working the car methodically
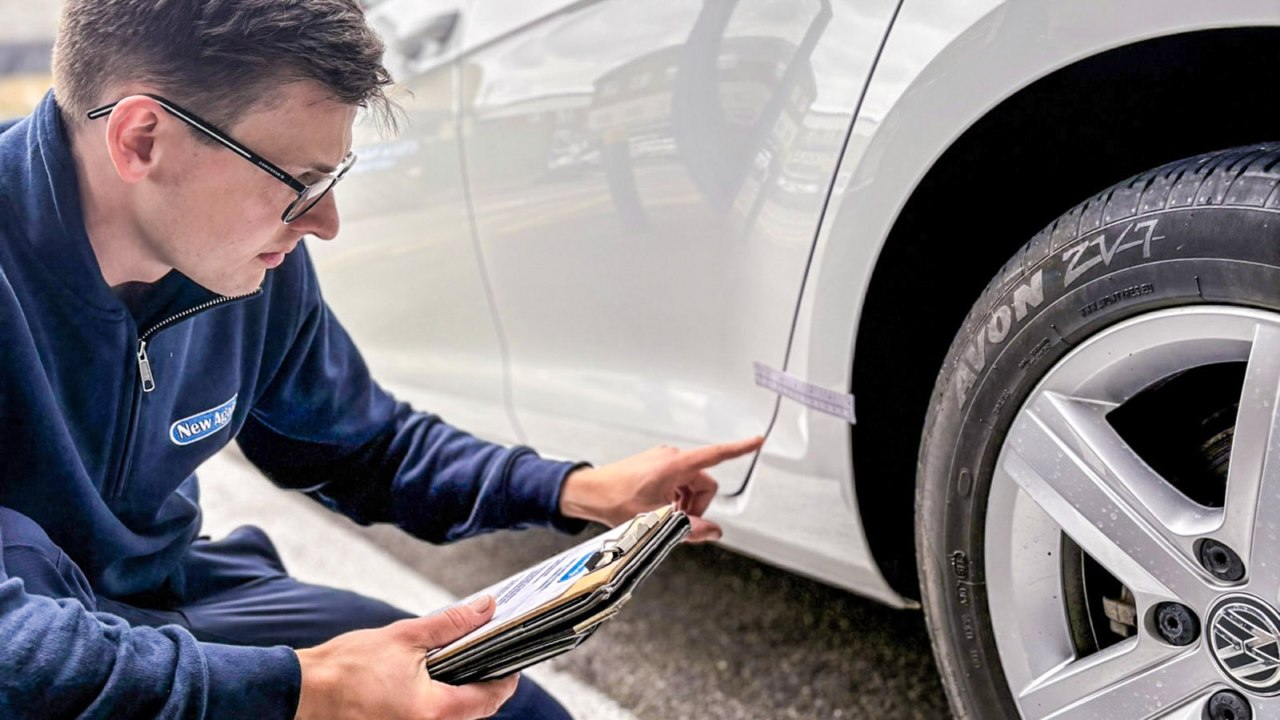
Start at the front and work round the car panel by panel in the same order every time, so you never skip one out of habit. Where you find something worth a closer look, stick a small piece of masking tape next to it before you photograph it. That sounds unnecessary until you're twenty minutes in and can't remember which of three similar marks on the nearside door you already checked.
When you photograph anything, put your ruler or tape measure in the shot alongside the mark. Most lease company standards are written in millimetres, so a photo that shows size clearly is worth far more than a photo of the mark alone; it's the difference between "there's a scratch" and a piece of evidence you can hold up against a threshold. Take your time on this. If someone can come with you, split the job: one of you looking and marking, the other photographing and noting down what you've found.
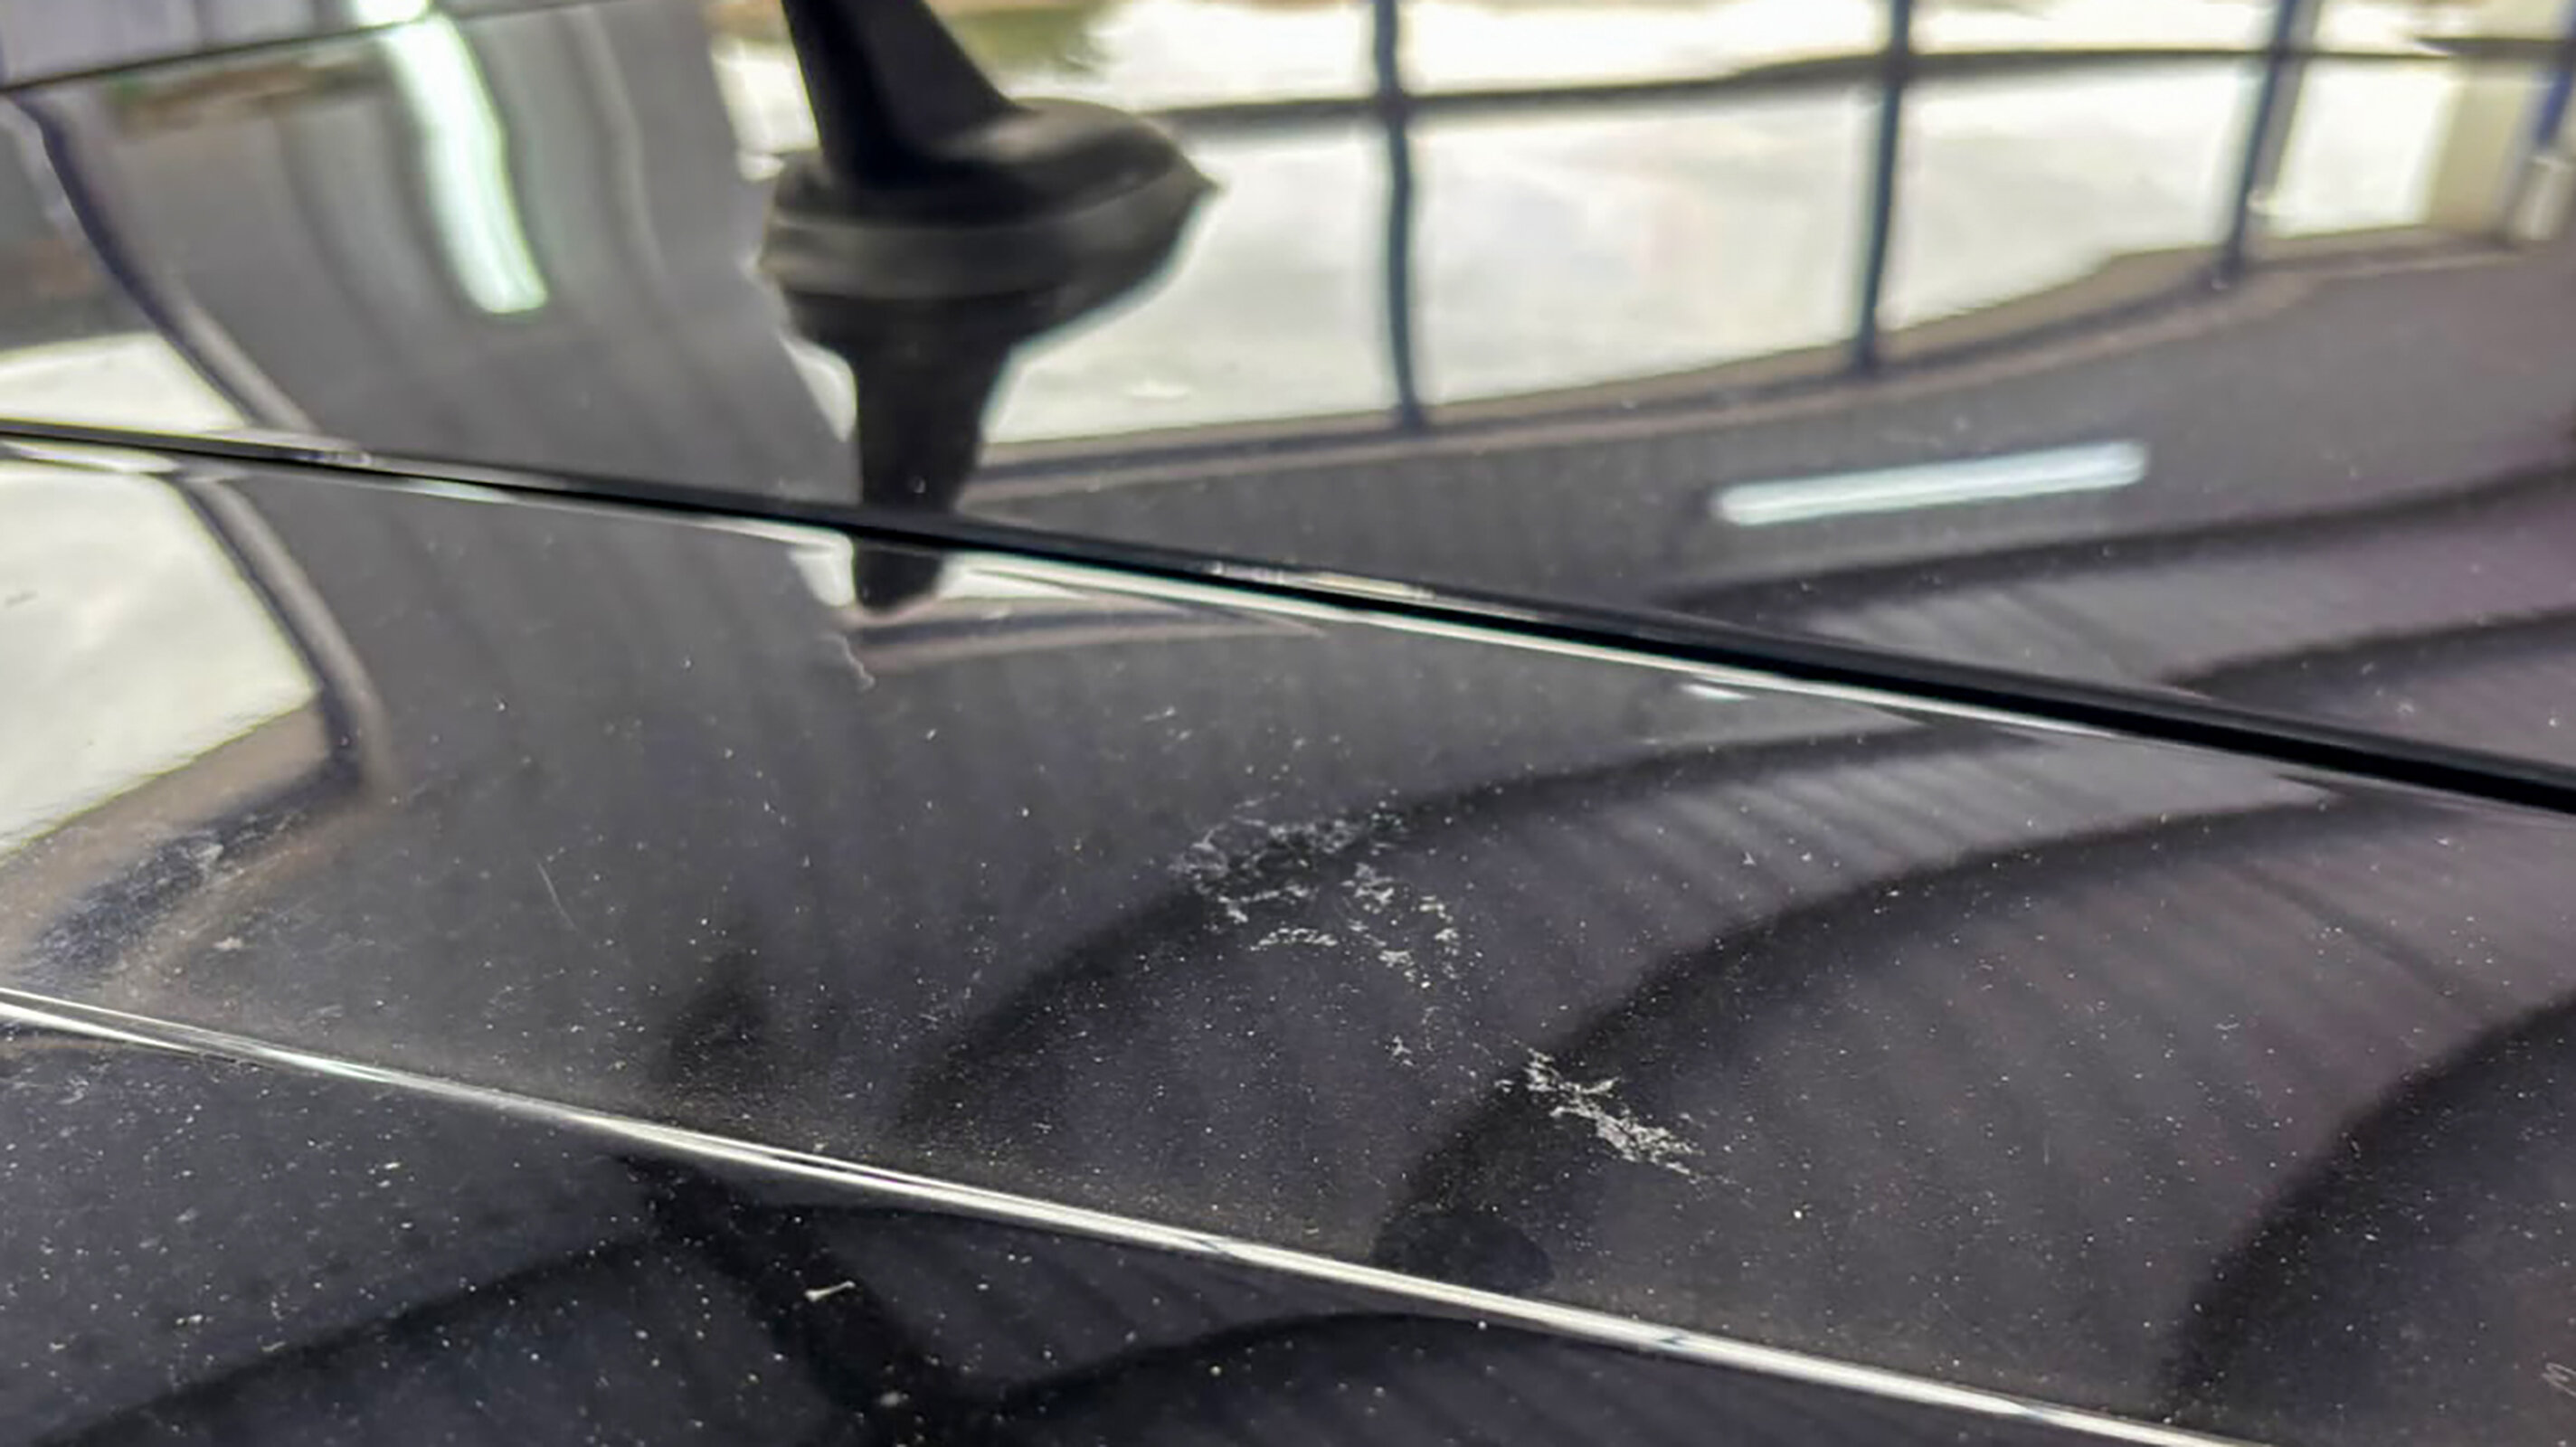
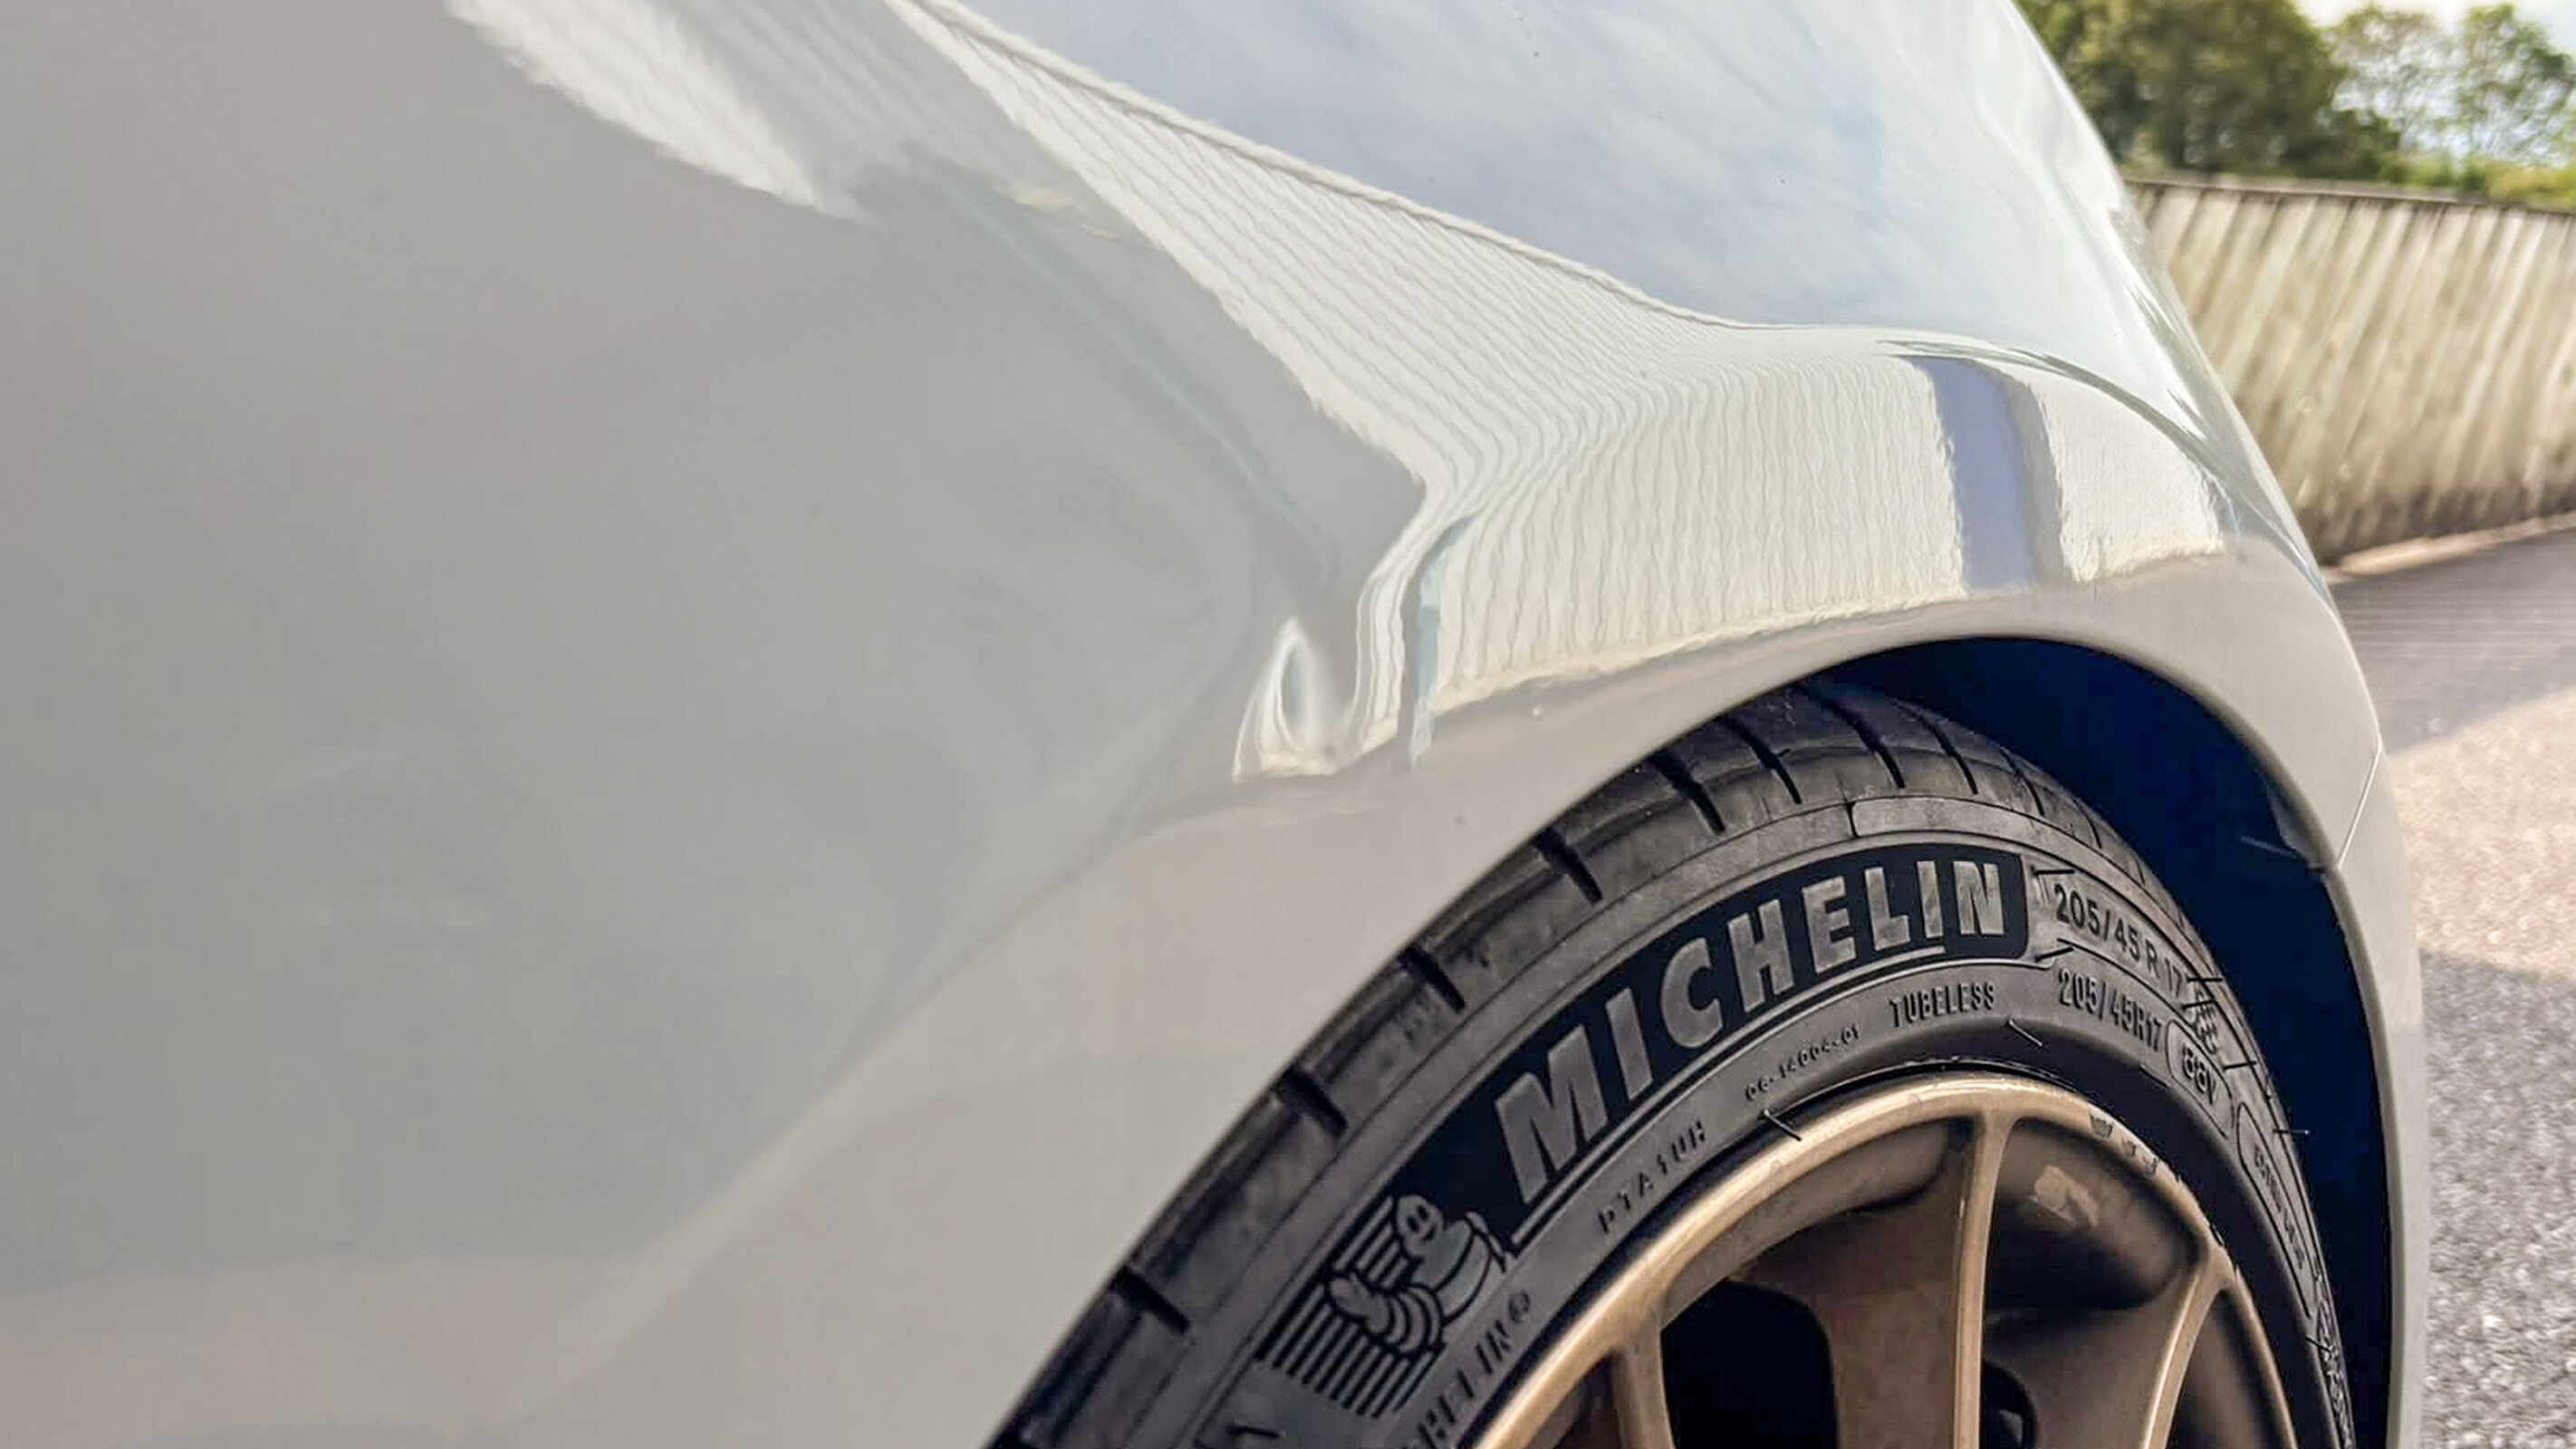
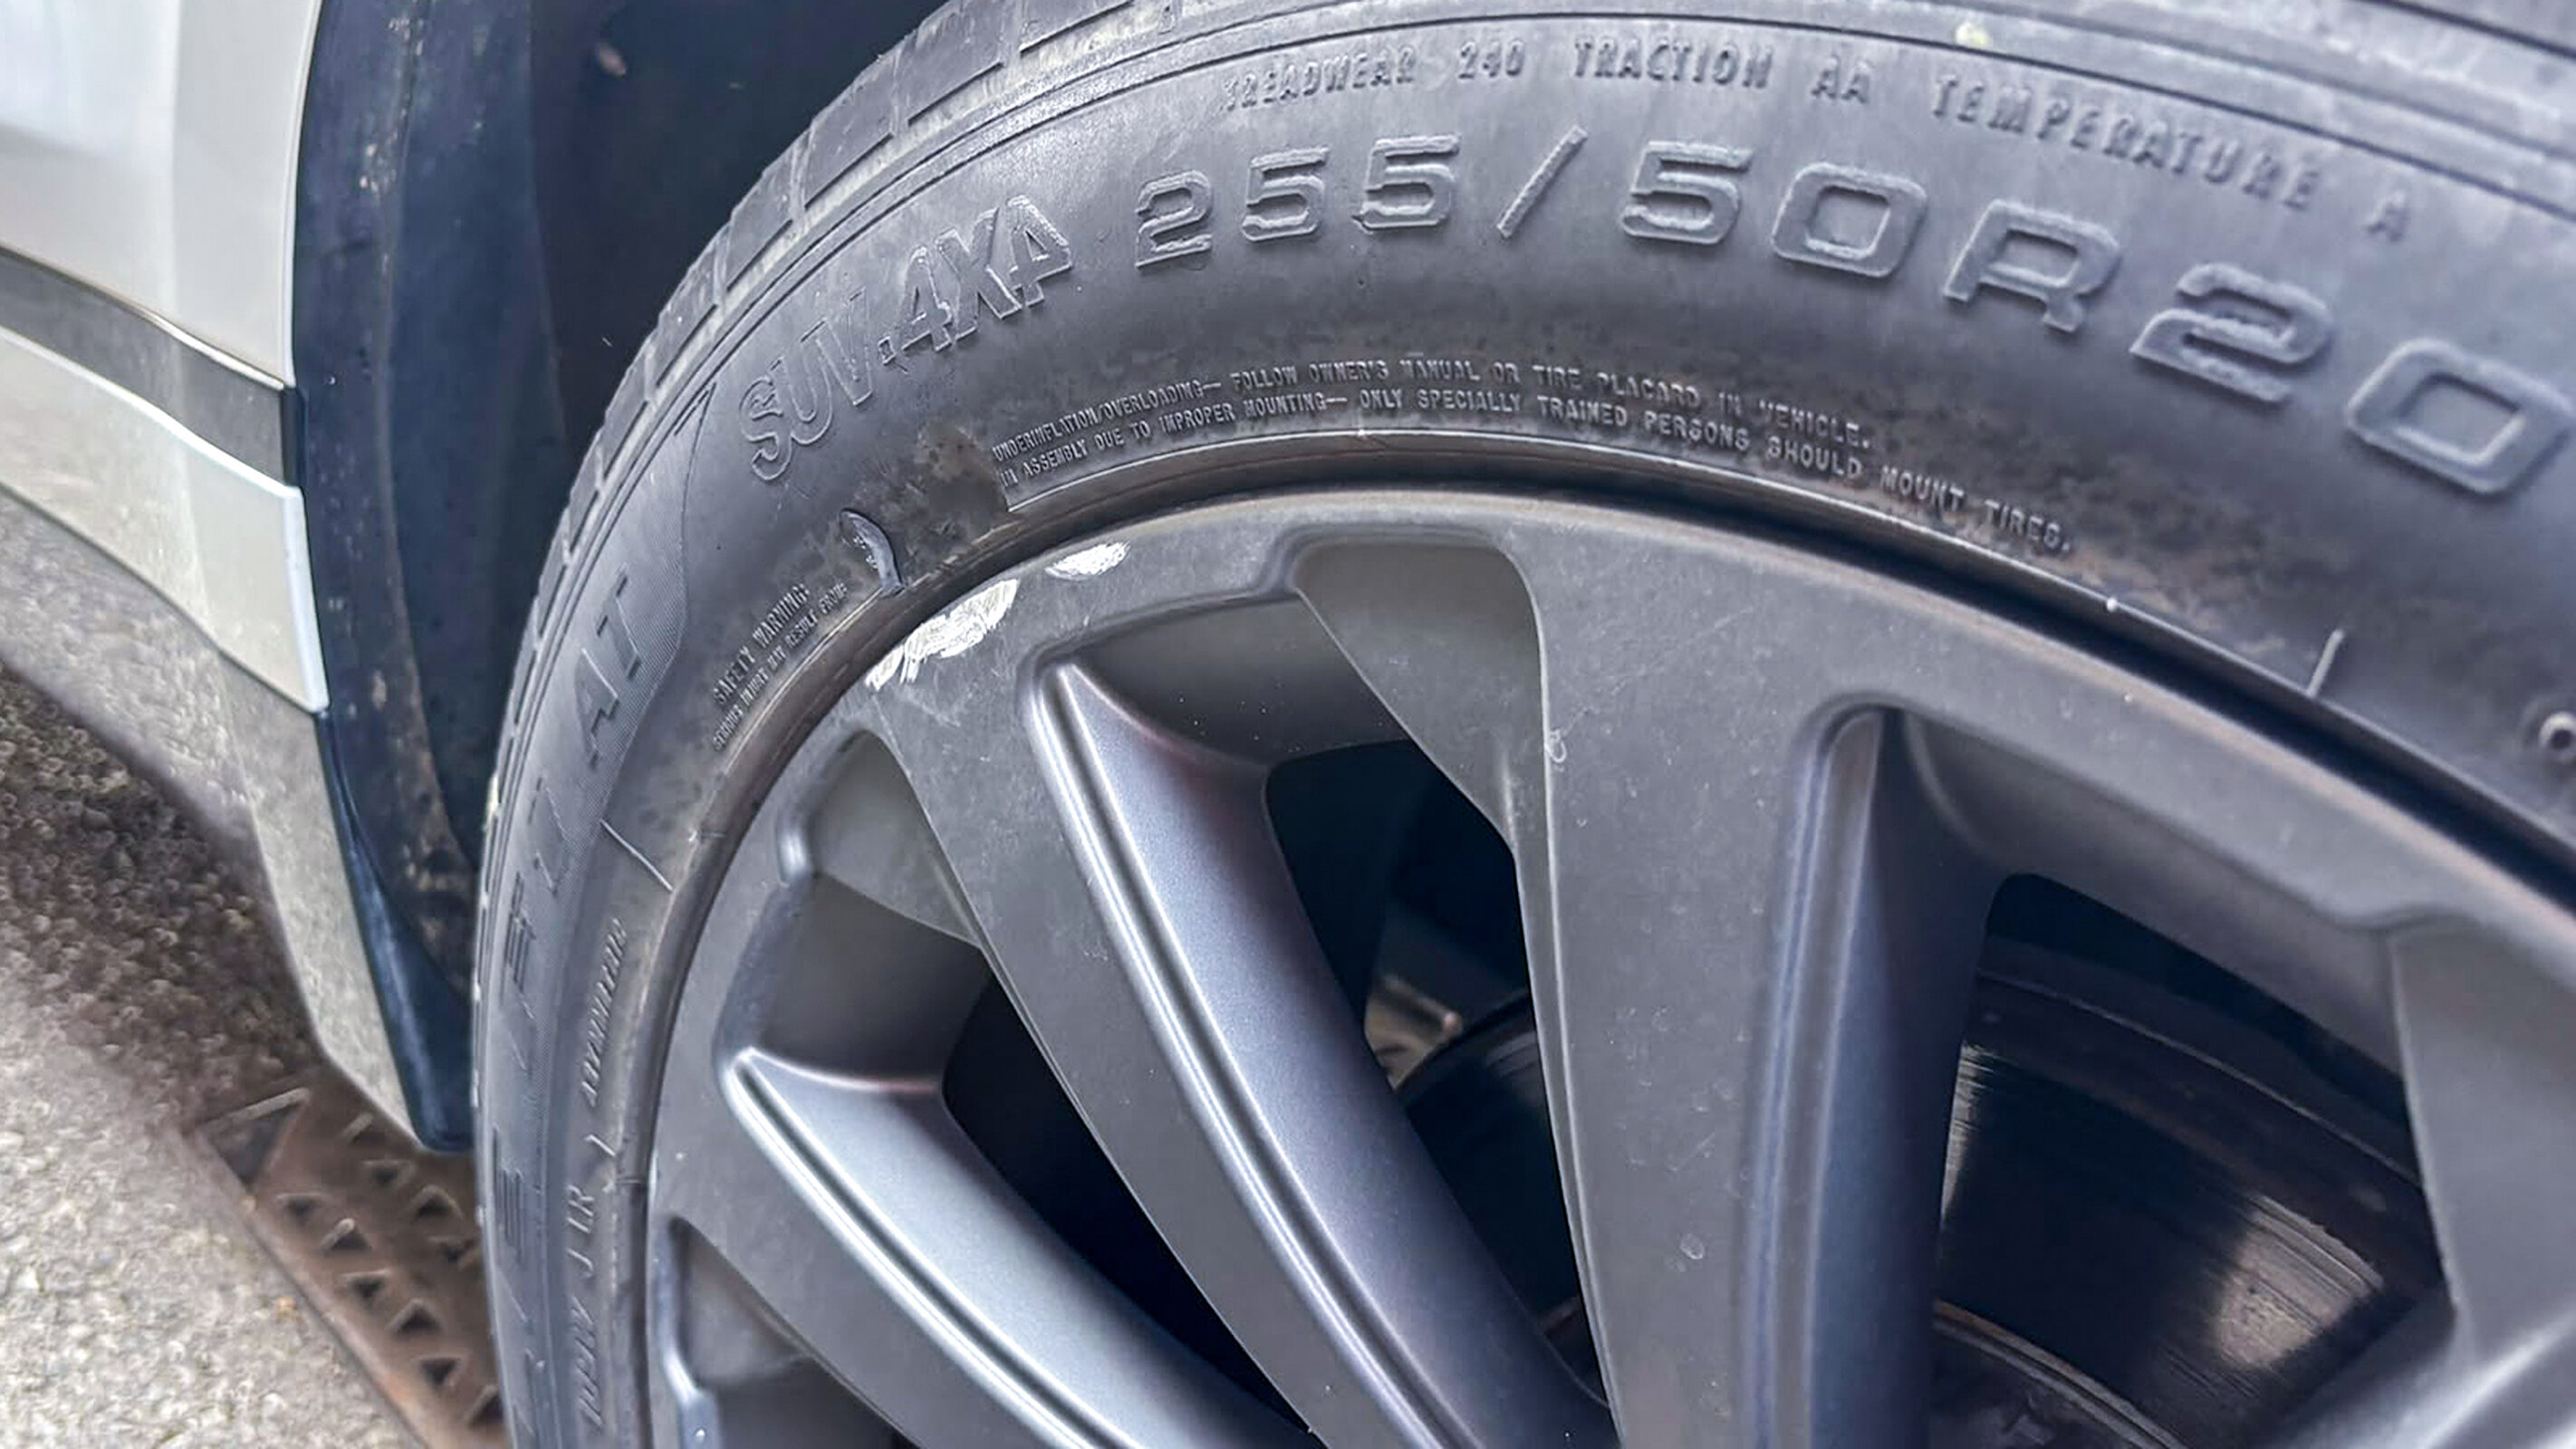
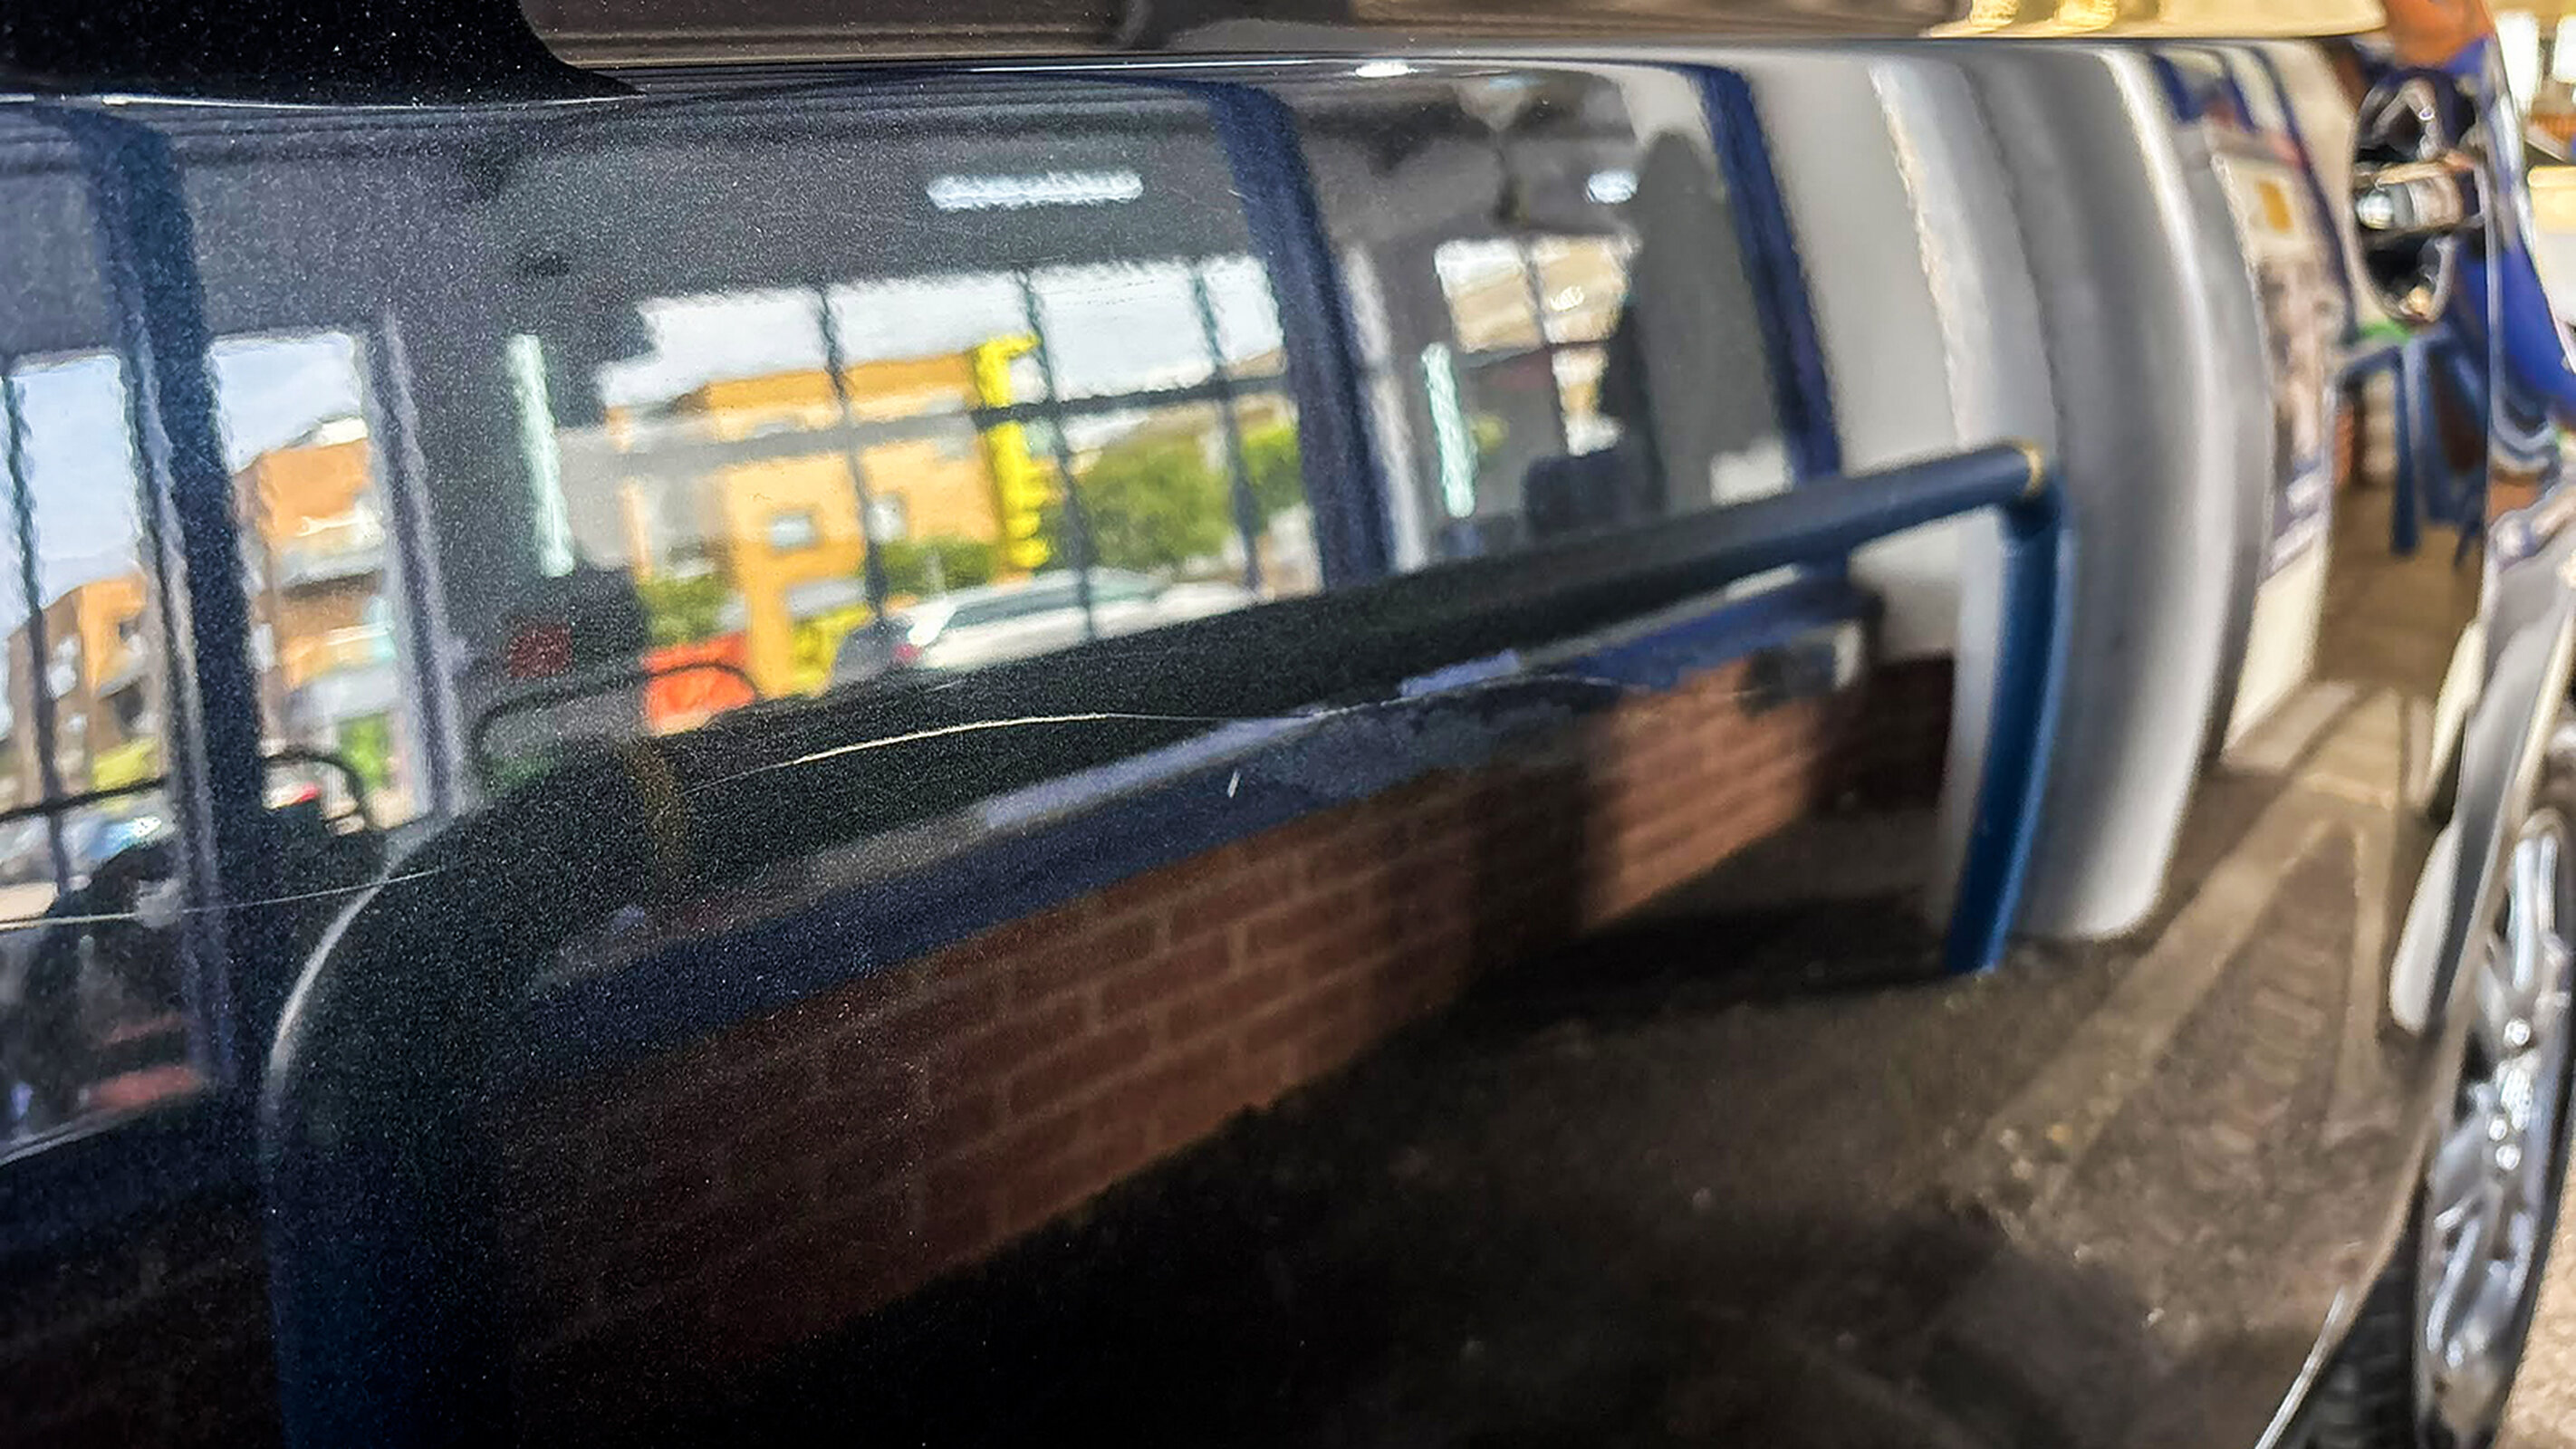
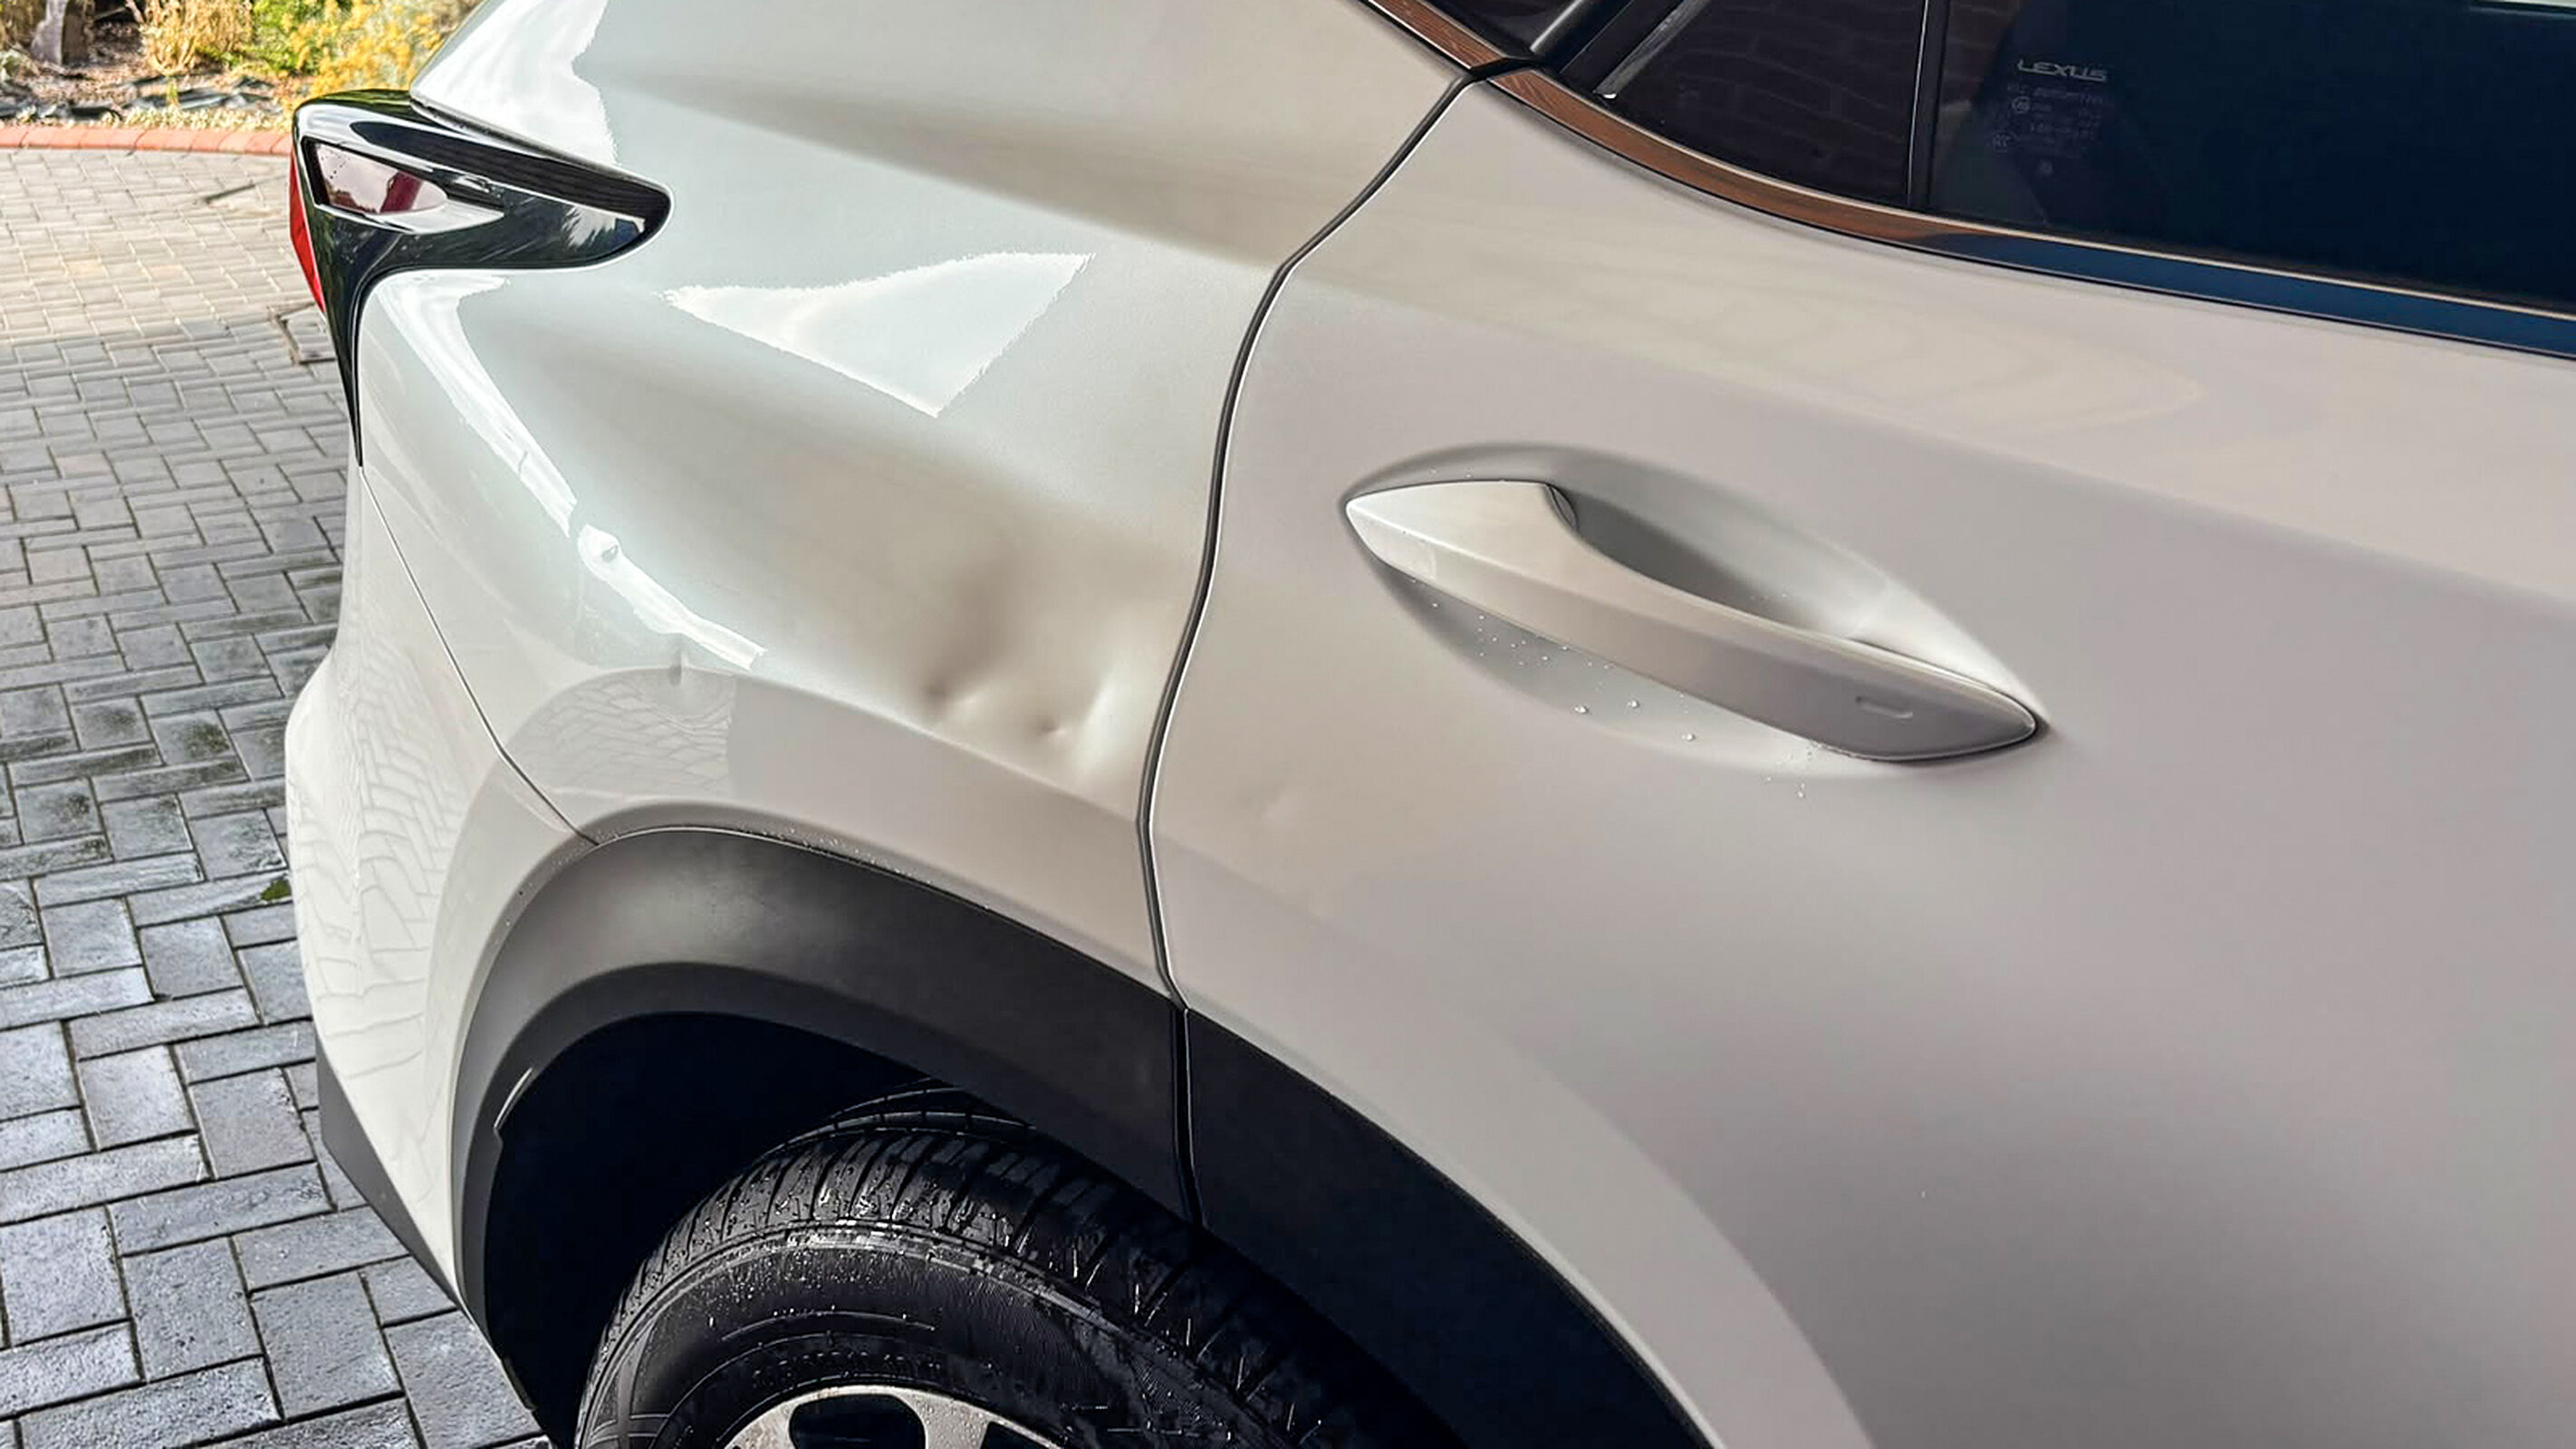
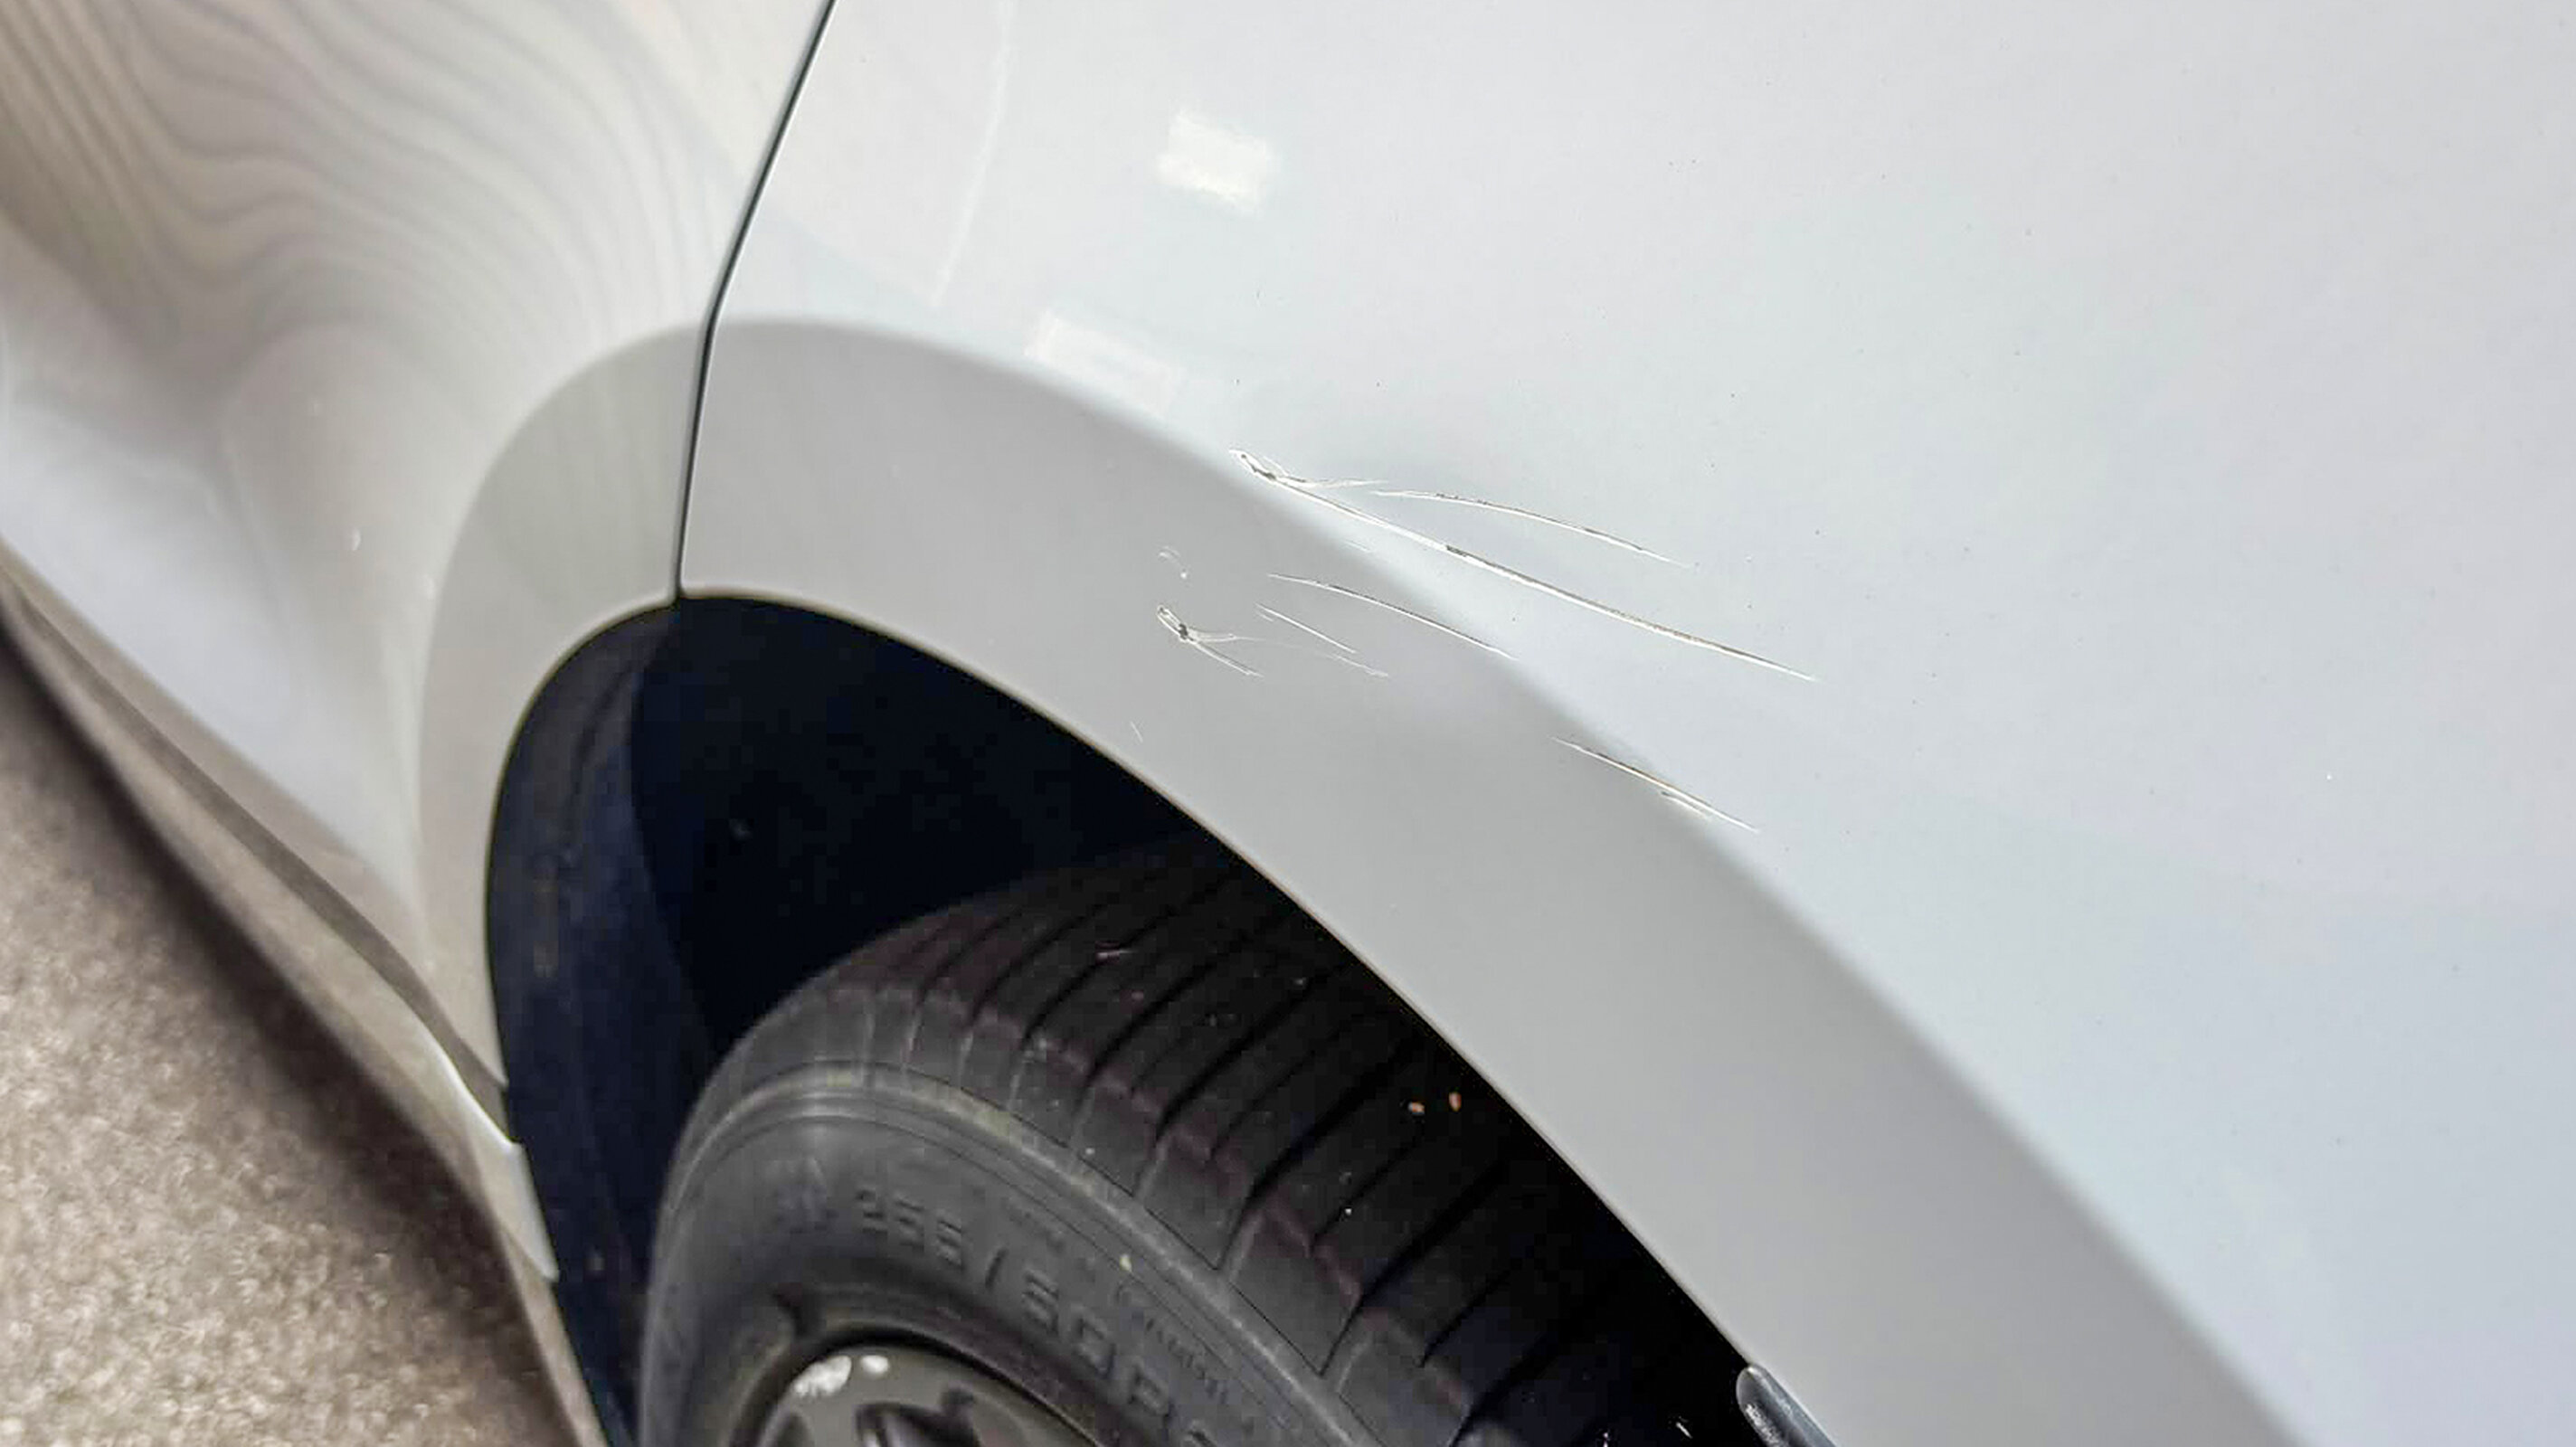
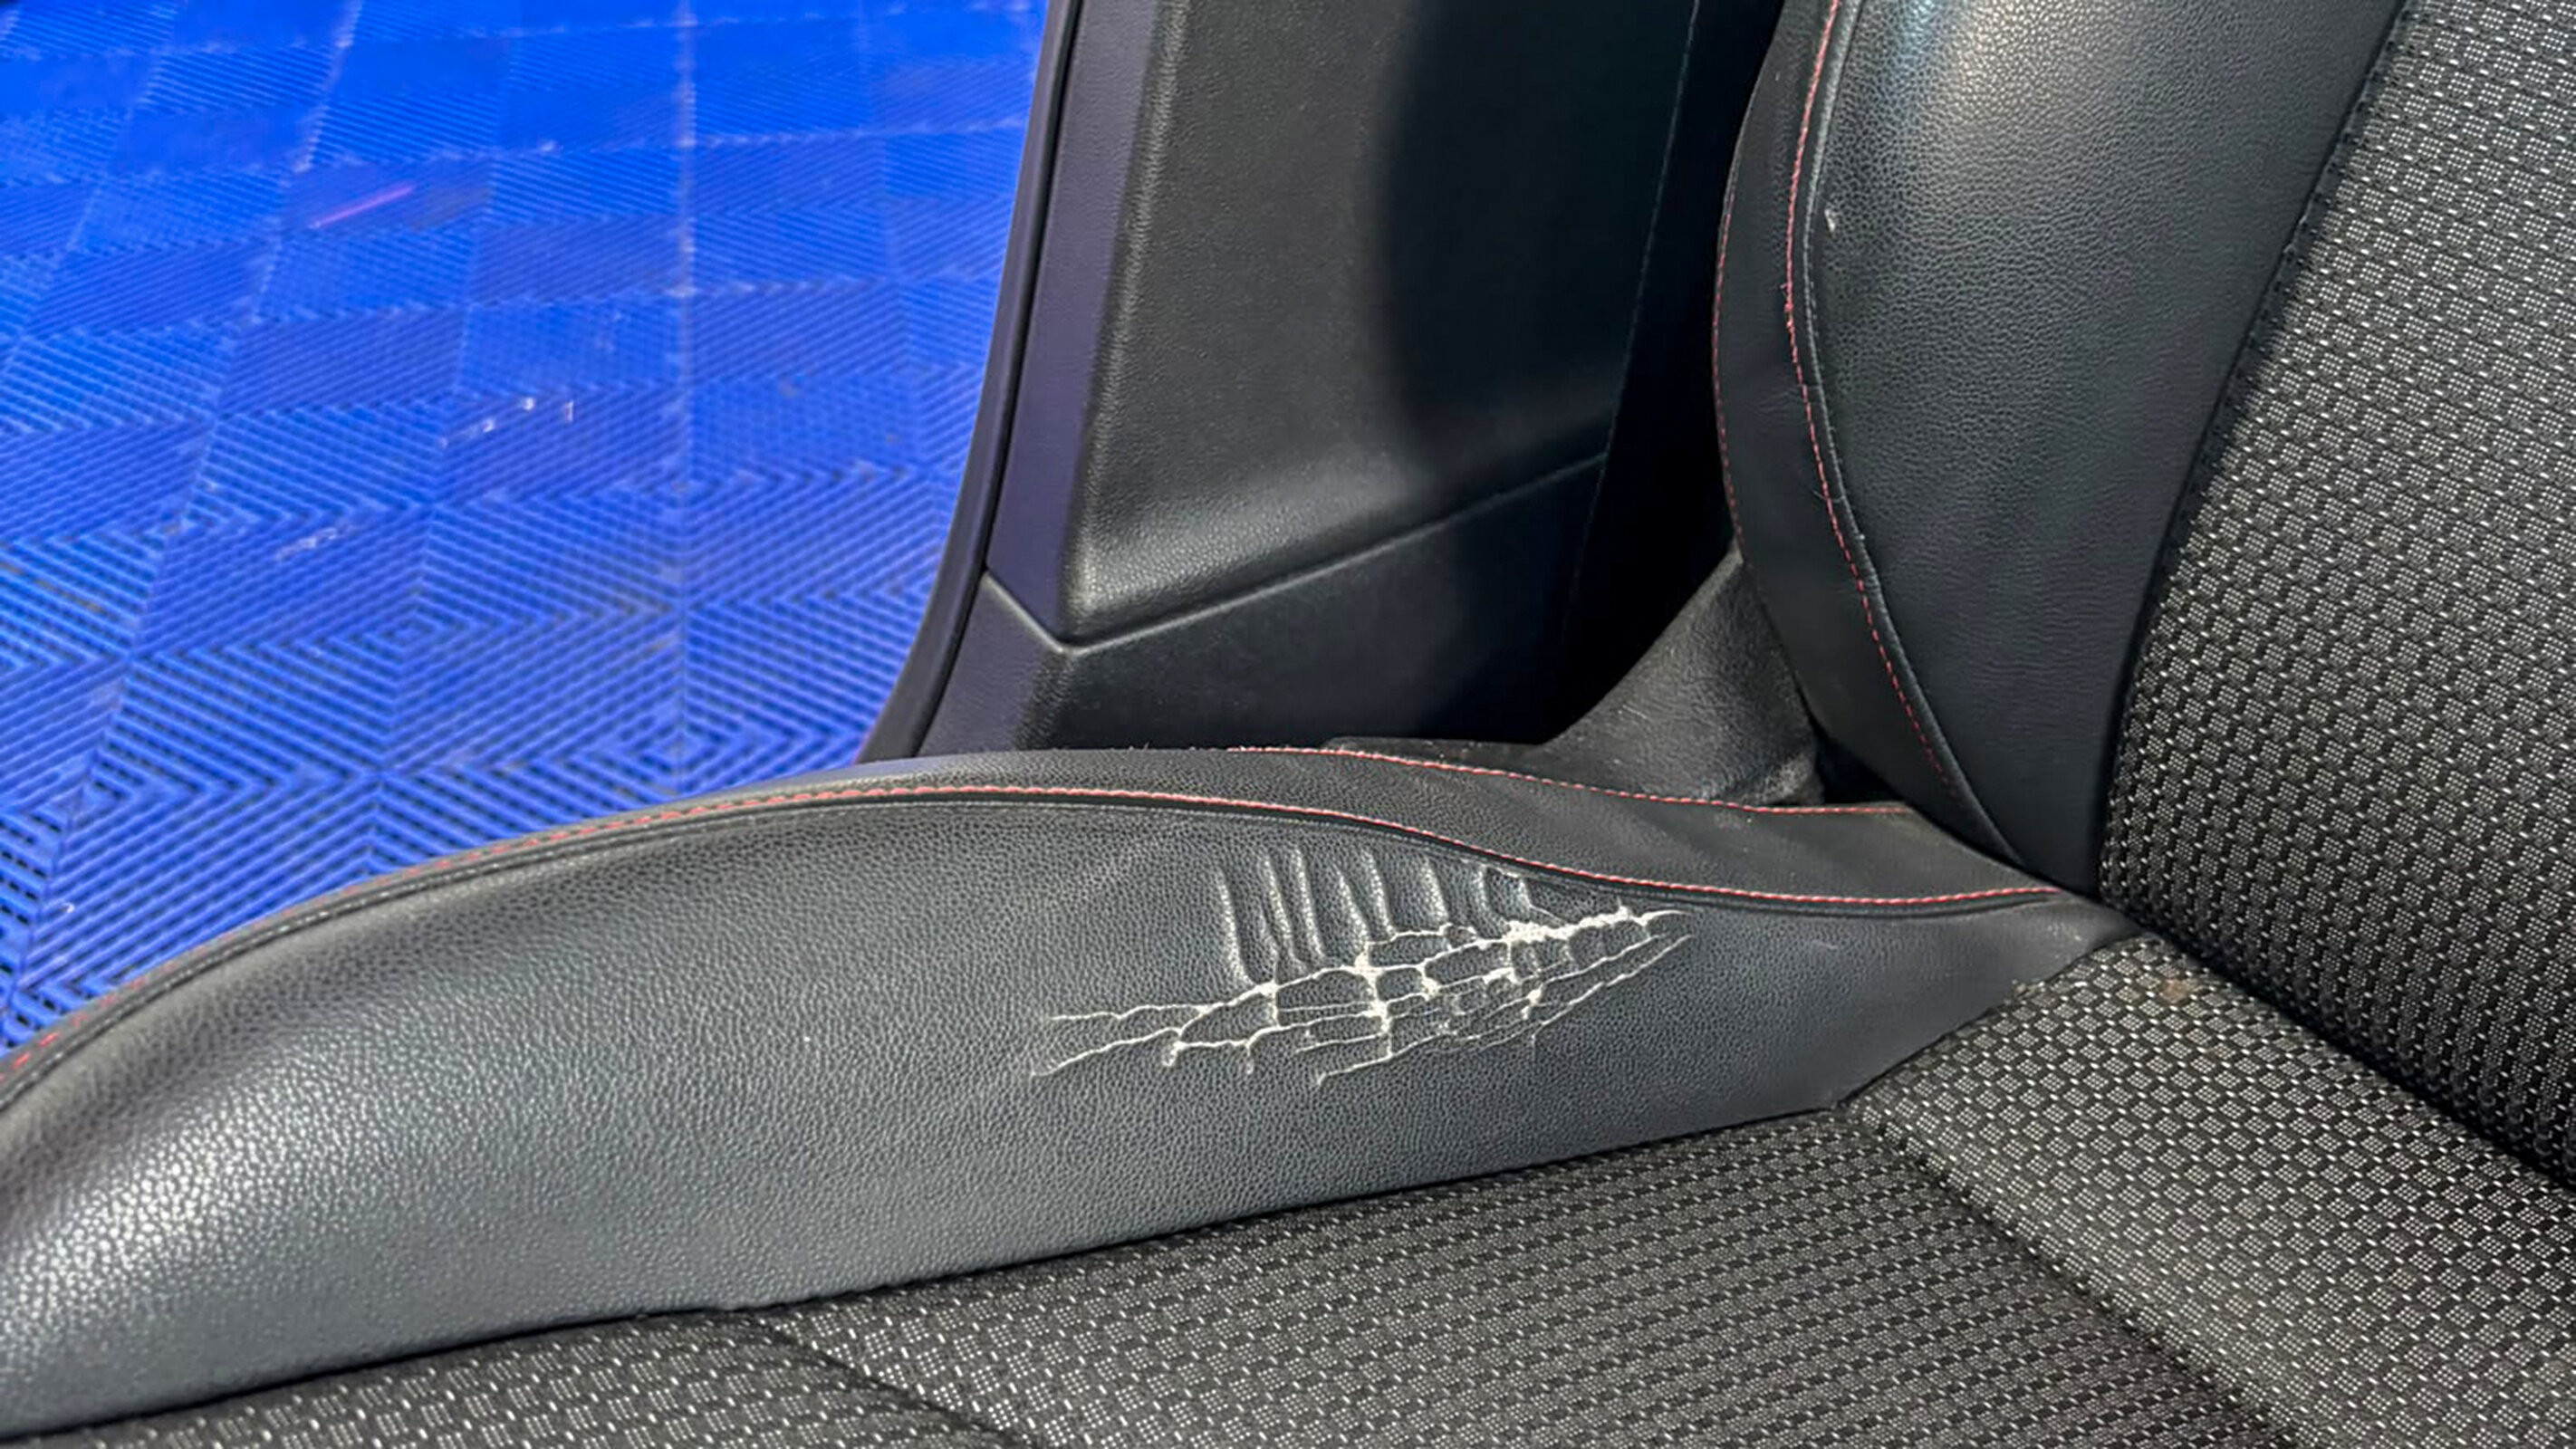
Examples from our own inspections
On touch devices, once you are in the gallery, you can tap to zoom in, and then drag to pan around the photo. Tap again to zoom out.


Paintwork
Scratches, dents and chips each get judged slightly differently, and location matters as much as size on all three.
For scratches, the UK figure that comes up again and again across lease companies is around 25mm, provided the mark hasn't gone through to primer or bare metal, but treat that as a planning number rather than gospel: it is well corroborated, not universal, and your own lease company's copy of the standard is what actually decides your bill. Run a fingernail across anything borderline; if it catches, the clear coat is broken and the mark moves into a different category. See will I be charged for scratches for the full breakdown of what that changes.
Dents sit in a rougher range, commonly somewhere between 10mm and 15mm depending on whose copy of the standard you're reading, with no more than two per panel and the paint unbroken. Swage lines and body creases are treated more strictly almost everywhere; a dent sitting on one is chargeable more or less regardless of size. Some lessors also hold bonnets and roofs to a tighter standard than doors and wings. Full detail at will I be charged for dents.
Chips are the tightest-agreed figure of the three, commonly cited around 2 to 3mm, with a cap on how many per panel before they add up to a chargeable cluster. The bonnet leading edge and door edges collect these through ordinary driving; a touch-up pen matched to your colour code, bought early and actually used, closes off most of them before they become a problem.
Bumpers, wing mirror housings and other plastic trim need a slightly different eye: cracks matter here more than scratches do, because a cracked corner does not polish out the way a paint scratch can. Scuffs and light scratches on unpainted mouldings and wheel arch trim are usually accepted much like paintwork, provided the trim itself is not cracked, broken or deformed; once it has cracked, treat it the same as a dent that has broken the paint.
Wheels and tyres
Alloy wheels are one of the most commonly recharged items on a lease return, and also one of the more forgiving categories: a scuff up to roughly 50mm of total circumference on the rim face is commonly treated as acceptable wear. The hard rule that overrides all of that: any damage to the spokes, the fascia or the hub face is judged far more strictly than the same size mark on the rim edge, sometimes regardless of length. Check each wheel with the car clean, not dusty; brake dust hides scuffs that jump out the moment the wheel is washed. Rust or corrosion anywhere on an alloy is treated the same way regardless of how it got there, and an actual dent in the rim, as opposed to a surface scuff, is usually a straight fail rather than something measured against the circumference allowance.
Tyres have a legal minimum of 1.6mm across the central 75% of the tread, but don't plan around that number. Most lease companies apply a stricter internal figure closer to 2mm, and a tyre that is legal on the day of collection can still be flagged as under the lessor's own threshold. Check tread depth across the full width of the tyre, not just the centre groove, and check the sidewalls too: a bulge, a cut or a repair patch there is treated as a safety issue rather than ordinary wear, and gets flagged regardless of how much tread is left. Turning the front wheels to full lock gives a clearer view of the inner tread and sidewall than looking straight down at the tyre, and the tread wear indicators moulded into the grooves are the simplest sanity check: if the tread's level with those bars, you're at or near the legal limit whatever your own tape measure says.
This is also where a genuinely common trap sits. The baseline most standards apply is that a replacement has to match the original tyre's size, class and speed rating, not just look similar; some lease companies go further and specify the exact brand and model that has to go back on the car. We've seen this catch people out more than once, someone replaces a worn tyre with a perfectly good equivalent, only to be charged for not using the manufacturer's specified brand. Check your own lease agreement's tyre policy before you replace anything, not after.
Glass and lights
Glass is one of the few areas where "a bit under the threshold" thinking doesn't reliably hold. A chip or crack in the driver's direct line of sight, roughly a steering-wheel-width strip in the centre of the screen, is judged far more strictly than the same damage out at the edge in the area the wipers sweep: many standards draw a hard line at around 10mm in that central strip and around 40mm elsewhere, rather than grading it the way paintwork is graded. A stone chip left to spread into a crack is a straightforward, avoidable escalation; a same-day repair is often cheap or free under many insurance policies, and doing nothing turns a small job into a full replacement.
Every exterior lamp and indicator needs to actually work, not just look intact. Condensation inside a lens or a bulb that has gone are both chargeable regardless of how tidy the lens looks from outside. The same goes for parking sensors, lane-keep assist and adaptive cruise control, where fitted: if a windscreen or lamp has been replaced during the lease, check the driver-assist cameras behind it have been recalibrated, because a system that has not been reset can fail this check even though the glass or lamp itself looks fine.
Interior
There's no measurement here. Interior condition is a judgement call, not a ruler against a mark, and the standard across every source we've looked at is consistent: free from stains, tears, burns and persistent odours, with normal soiling accepted as ordinary use. The problem is that your own nose stops registering a smell you live with every day. If you've carried pets, smoked in the car, or transported anything that leaks, assume an inspector will notice what you no longer can, and get the interior properly cleaned rather than relying on your own assessment of how it smells.
Check every dashboard control, the infotainment system and any fitted accessories actually work, not just that the seats and carpets look presentable. A functioning fault is chargeable the same way physical damage is, and it's an easy thing to overlook when you're focused on stains and tears. See how clean does a lease car need to be for the fuller standard.
Mechanical
The rule here is simple: it has to work. A service that's overdue, a warning light that's been ignored, a fault that's been driven around rather than fixed all get flagged regardless of how clean the rest of the car is, and a missing or incomplete service history attracts a charge even on a mechanically perfect car. Sort any outstanding servicing while there's still time to book it.
Standards also cover things you cannot reasonably judge yourself from a driveway: scored brake discs, a slipping clutch, a gearbox that shifts roughly, impact damage underneath the car. In practice these rarely surprise anyone at a lease return, because a car with a genuinely failing clutch or a seized engine has already stopped being pleasant to drive long before collection day; it is not the kind of thing that hides until an inspector looks. If you are unsure about anything mechanical, get a garage to check it rather than guessing. For most drivers this section comes down to the same short list: no warning lights left ignored, no fluid leaks, and the service history to prove it. See do I need to service my lease car before returning.
Documentation and accessories
This is the single most consistent finding across every standard we've compared, UK and international: missing paperwork or missing kit triggers a charge on an otherwise perfect car, and it's the easiest category to fix if you catch it early because none of it requires a repair, just finding the item. Work through this list a few weeks out, not the morning of collection:
- Both key sets, including any key cards
- The locking wheel-nut key
- The handbook and any manuals
- The V5C registration document, if your agreement expects it to travel with the car rather than being held by the lease company
- A full, stamped service history, printed if your records are digital: an inspector on your driveway can't log into an online portal
- The spare wheel or tyre-inflation kit, and the tools that came with the car
- The parcel shelf or boot cover
- Any removable seats or load-area equipment
- A valid MOT certificate, where applicable
- Any fitted optional equipment
- EV or hybrid charging cables
None of this is wear and tear. It's simply absent, and replacing it after the car has gone costs more than finding it in the garage the week before.
One more thing that isn't paperwork but belongs in the same pass: clear your personal data from the car. Delete your home address and any saved details from the sat nav, and run a factory reset on the infotainment system so paired phones, contacts and app logins don't carry over to whoever gets the car next.
Recording it on video
Once you've been round the car, get your companion to film you doing a second walkround, slower this time. Start with a clear shot of the number plate so the video is unambiguously tied to the car, then follow your masking tape markers round the car in order, talking through what you're looking at as you go.
This second pass genuinely catches things the first one misses. Whoever's filming will often spot something you've walked past; if that happens, just add a short extra clip at the end rather than starting again. Keep the video and your photos together somewhere safe on your phone. Together they're your evidence record if a charge later doesn't match what you found.
Worth sending it on too, not just filing it away. Your fleet manager, your boss, or the leasing company directly: whoever ends up handling the return benefits from seeing the car's condition at the point it left your hands, before any dispute even starts.
What to do with what you find
Once you've been round the car area by area, you'll have a list, and every item on it sorts into one of three piles. Leave it: it's genuinely inside fair wear and tear and fixing it is money spent for nothing. Fix it: it breaches the threshold and a repair costs less than the recharge would. Negotiate it: it's borderline enough, or unusual enough, that it's worth pushing back on rather than accepting the first figure you're given.
Weigh each of those against your lease company's own guidelines and charge matrix, not just the figures on this page; every company's copy differs slightly and theirs is the one that decides your bill. If anything's genuinely borderline, ring them. Lease companies aren't trying to catch you out, and a quick call, sometimes even emailing over your photos, is often enough to find out where you actually stand before you spend a penny.
Look closely at anything that's clearly had work done before, even if it went through your insurance. If a previous repair is visible or doesn't meet the standard, it can still be chargeable, and the right fix is going back to whoever did the original work rather than paying for it twice. And if the car's on a company fleet rather than your own name, share what you've found, the photos and the video, with your fleet manager before you act on any of it.
That third pile, negotiate it, is where most of the arguable value sits, and it's also where doing this alone starts to show its limits: you're not a neutral party assessing your own car, and it's genuinely difficult to judge a borderline mark fairly when you've lived with it for three years. A professional inspection before the lessor's own inspector arrives gives you the same walk-round with a trained eye and a written report behind it, which is your evidence if a charge later looks wrong. See why have a lease return inspection for the fuller case, and can you dispute end of lease charges if one already has.
One rule matters more than any of the above: if you're not confident in a decision, don't act on it yet. Rushing into a repair you didn't need, or skipping one you did, is the most expensive mistake people make at this stage.
Getting repairs done
Be careful taking advice from a repairer on what will or won't be chargeable. However good they are at the actual work, most repairers don't know your lease company's standard in the kind of detail that decides a borderline case; a dent specialist can tell you whether a dent is fixable, not whether it clears your lessor's threshold. Work out what needs doing from your own checklist and your lease company's guidelines first, then go looking for someone to do it, rather than letting the repairer's opinion set your plan.
Don't go for the cheapest quote without checking what's behind it. Most lease companies require any repair's guarantee to be transferable, meaning it stays with the car rather than with you as the owner. If something resurfaces after the car's gone back and the guarantee wasn't transferable, you're left with a dispute and nothing to back you up. Check that before you book anything, not after.
A poor repair is often easier to spot than the original damage it was meant to fix. Flaking paint, a visible masking-tape line, a slightly rippled panel, or a respray that doesn't quite match the rest of the car under different light are all signs the work was rushed, and an inspector is trained to look for exactly this. A repair that draws attention to itself can be judged more harshly than if you had left the original mark alone.
If you'd rather work through this on your phone, room by room, than read it as one long page, our End of Lease Checklist tool covers the same ground interactively, and our downloadable one-page inspection sheet does the same on paper. Either way, the point stands: go area by area, do it in good light, do it early enough that finding something is still useful information rather than a regret. For everything else on handing a lease car back cleanly, see our end-of-lease car preparation guide. One more thing worth knowing: everything on this page applies equally whether you're on PCP or personal contract hire; both work to broadly the same fair wear and tear format.