Mini Cooper S 2004: door membrane leak found via hose test, boot cassette drain cleared, A-pillar gaskets checked, both door membranes resealed, Krytox rubbers, hood clean and reproof. Dents assessed; PDR carried out. Finished with rain-water demo before collection.
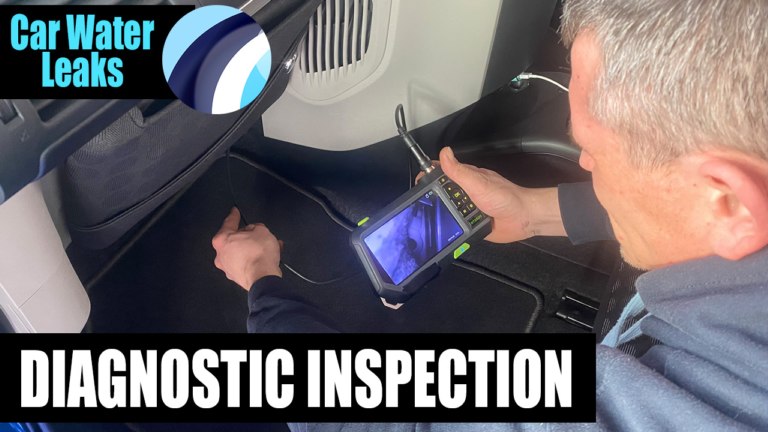
This 2004 Mini Cooper S came in with water getting into the cabin. Gary walks through what the 28-point check found, the hose test that confirmed the main source, and the additional refurbishment work carried out while the car was with us.
Finding the leak
The A-pillar trims were checked first. The car had recently had a new windscreen fitted; when a screen is replaced the rubber has to be pulled back, and on these Minis it is not uncommon for the waterproof gaskets behind the pillar trims to be missed or not seated properly. The trims were removed to inspect; water had been sitting behind the rubber and there was rust staining visible inside the channel. Both sides were the same.
In the boot, the cabriolet roof drain cassette outlets were checked by pouring a small amount of water in. The fronts and rears were flowing correctly, but one of the cassette drain-offs was blocked; it was trickling rather than running away freely, and was cleared.
The hose test identified the main leak source: water was running down past the door membrane and in past the speaker housing, with the underlay beneath already soaking wet. The passenger side was the active leak; because both door membranes are the same age, both were resealed at the same time. All the door rubbers were treated with Krytox to replump the seals, including the dry rubbers around the windscreen base and the A-pillar areas.
Drying and finishing
Seat out, carpet up, suction machine to pull as much water as possible, then the three-phase hot-air blower overnight. Everything was reassembled and a courtesy vac carried out throughout.
The cabriolet hood was cleaned and reproved with a protection coat. Gary also walked the customer through the condition of the roof trim piece; water was getting behind the lip where it should run off, and the correct fix is to remove the trim, reseal it and refit -- about two hours of labour. James carried out some paintless dent repair on several dents that had been identified during the inspection.
The finished video ends with a water-bead demo on the freshly coated hood before collection day.
See our car water leak diagnosis page for details on the 28-point check, water leak repair for the full fix and drying, and convertible roof cleaning and restoration for the hood clean and reproof.


Share this video