0:00 OK, we've got a Mercedes SLS in today for our water leak procedure, so just to have a quick go round and obviously see what it looks like. It's slowly defrosting, because obviously it had a sheet of ice all the way over it. Everything looks good to me from what I can see. A couple of things to note is that there is no passenger seat and there is no carpet.
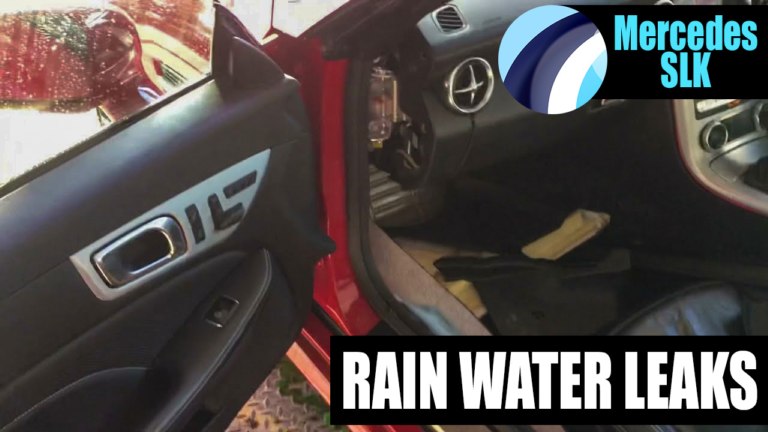
0:27 So let's just have a quick look inside, so this is obviously what the inside of the car looks like. You can see a tiny bit of water just down here, possibly the water is sitting in this gully here as well by the evidence, okay. Okay, today we have a Mercedes SLS in for our water leak procedure, and I'm just going to show you what we've found so far.
1:07 so far, so we've got the hose set up just to see when it's out in the rain. So if we now jump inside the car, quickly grab the torch, okay, so we've got no carpet in here. Okay, so we can see that we're getting a leak from the top pillar, and it looks like it's coming out the A pillar here as well, as we've got obviously a trowel water coming down the inside of the rubber. And so it looks like possibly the rubber needs gluing down, and because it has no sealant under there,
1:51 as well as obviously maybe taking off the A pillar rubber and resealing that, so we know that there's no water getting behind there. The only thing is it's doing it on both sides, and obviously the simple reason for that is, if I just quickly turn the hose off, okay, so we can see that it's running in past this rubber here and then it's then obviously coming into the car. But if I just quickly pull this rubber off here, we can clearly see that the water is getting behind that rubber and
2:36 there's no sealant on there at all, and so we would obviously recommend doing that there. And the only other thing is, if we have a look up the top here, we can see that there is water in this middle groove, and it looks like the water is exiting through this point under here, under this box section. So we will probably would advise doing a couple of hours investigation underneath the front bulkhead as well. But what I'll probably suggest is we obviously take all of these rubbers off, we reseal the rubbers, it's obviously is a compromise, but the
3:13 rubbers don't look that bad, and from as far as we can see, it's just there's got no sealant between that and the bodywork. And once we obviously reseal them, and possibly cry-tox all the rubbers as well so it makes them nice and conditioned and plump, and then what we would then do is we'll then start testing the bulkhead, once we test obviously all these rubbers to make sure that they're all sealed and there's no water getting behind. And then I think we're just obviously have to
3:37 take it stage by stage. Okay. Okay, quick video again on the Mercedes, so if we just sit inside. Okay, so when we're now removed the A pillar, and what we can see is up on that top rubber, we can see the water is getting in the inside of that rubber, and then what it then does is it follows this down as a trowel. And obviously a panel would be here, so it would then follow down into this lip here, this lip down here, so it's followed all the way down here and then
4:15 what that would then do is go inside here. When it goes inside here, that's when it's then meeting the door rubber and then following its way down, and unfortunately, as you can see here, we've got a lot of places where the water can obviously get its way in. And as you can see here, we've got a ridge which goes in, and then obviously we've got the puddle of water. So I think we are right, I think it is this top rubber which is causing us the problem. If I just quickly go
4:42 around to the passenger side as well. So if we look up in this top section, just about make out that there's a bit of water just starting to come through, just in that corner bit there. So what it would then do is obviously it's coming in through this bit here, then it would use this as a slide all the way down, and then once again in through the rubber, and then that would then cause it to obviously fill this bit up here, because as you can imagine there's a slit here, so it's
5:17 probably just following the rubber down and then slitting off there, or it's slitting off into here, but probably more than likely here. So obviously we're going to take the rubber off now and reseal that rubber and the door rubbers, and I'm hoping that should solve the problem, and then we can go on and obviously have a look at the bulkhead. Okay. Okay, quick add-on to the video, and we're slowly trying to get this rubber off. I managed to release this side here, and the reason being is this secret little screws up inside the
5:47 rubber, which go all the way down the A pillars. As you can see, there's no sealant around the side bits at all, and where it appears that it was leaking in, you can see a little trace of watermark here. And all they've got is a double sided sticky tape at the top, and the only thing is, is if I just show you, these are the bolts which hold the rubber on. Now if we go around to the passenger side, this makes me think that someone else has been up here previously
6:13 in its time. If we can see, if I can just get this open enough, we can peer in. Okay, so up there we can see that that is a completely different bolt to what is in the rest of them, so it's a crosshead. So it looks like someone has had this off previously and they've put another bolt in there and not the original bolt. And so we're now going to take this side off, and then hopefully we can be another step closer. Okay, so all the rubbers have been sealed on now, as of
7:05 what they are in the pictures on 28 point check. And so we just now put it back onto its test, and so we've got obviously the hose on it and it's raining. If we just quickly pop inside. So we have no run now coming off at the bottom of the rubber, which is a good sign, and where it was coming in very quickly and pulling down the bottom here, and that's probably where that rust patch has obviously worked its way from. If we just go up
7:39 the rubber, so we can see that there's no leaks on that rubber at all, especially that obviously it was coming in through here before as well and then coming down the inside. So that's looking all good, and so we're just going to test the driver's side now, and then we can then move on to the other leak underneath the bulkhead. Lovely. Okay, we've got the end video on the Mercedes SLS. It has been a bit of a tricky one, and but it seems to be testing up well now and not leaking. We did do it first of all and it solved
8:11 the passenger leak, but there was a tiny leak on the driver's side, so we've redone it all again, and as far as we can see there is no water inside. But obviously it's going to be a case that it's going to have to be taken out into the real environment test. Obviously it was already stripped by Mercedes anyway, so we've not, we've put all the bits back in we done, which is obviously all around the A pillars. All the rubbers have been quite hock, so they're
8:35 rejuvenated. Okay, we've got a Mercedes AMG SLS, believe it or not. This one come to us for a water leak and it has been rectified now, and so it's all been salted, so the customers just about to take it away. It's a beautiful car, and we wouldn't expect obviously one of these to have a water leak, and but obviously it did, and we've managed to rectify it. We resealed both of the door rubbers, and as well as we had to remove the rubber which goes up the A pillar and across
9:05 the screen and reseal that, because that's where the water was coming in and then it was filling in the footwells. So there we go, so it's all been done, so it's all ready to go.



Share this video