0:00 Second video, so now we're going to move up onto the top gutter strips, which are the welded seams. And so we can see there, if we look very closely, we can see that there is hairline fracture marks in the weld, and that little bit there is open. So what that would cause, it would cause water to run down on the inside and then exit through this little hole in here. Also, if we look at the anchor points, we can see obviously there's a fracture there. This isn't leaking yet,
0:30 but obviously after time, after it flexes, it will open up. Same again with this anchor point, so we've got a tiny bit of obviously fracture here, which is obviously not leaking at the moment, but obviously it is going to start leaking obviously over time. Coming up to this side here, this side's a bit worse to wear, so we can see all the crack marks. If I go at an angle, we can see how much that's opened up. So the water's going to get in through here, travel down on the inside just
1:01 just like before, and then it's going to make its way into the car. So what we're gonna do is we're gonna pour a bit of water up here so it sits on the weld, and then what that should reveal is a tiny little puddle on the inside, in that little square bit I just showed you. So we'll put loads of water in there, because it's got to have time to work its way down past obviously all of the vents or the inner side of the car. Right, okay, so I don't know if you can see that, but we've got water
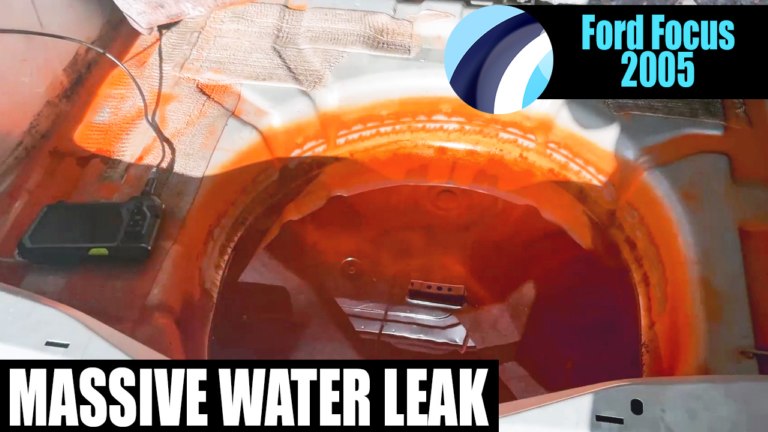
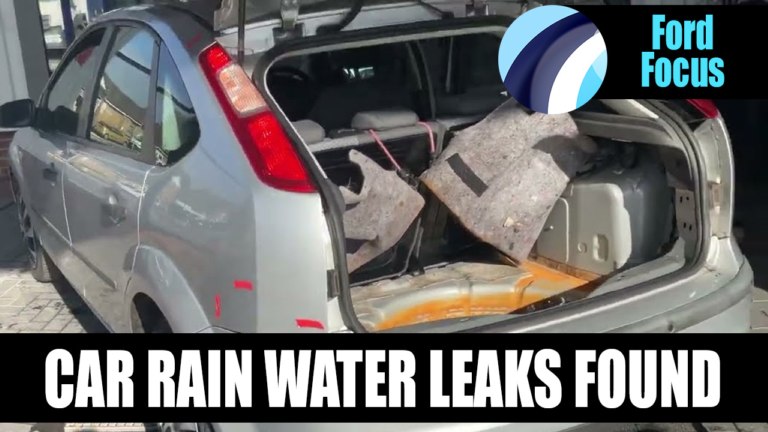
1:34 there. I can't get my finger in there because my finger's too short, but the water is running down just past that sill, so it's just running down here and then collecting in this spot here. So we've got multiple leaks on the back here. And so hopefully obviously once we obviously get it all clean, get it all fixed and get it all dried, we recommend a overnight dryer so we can dry obviously all inside the box sections, because obviously the water's been running down. Okay, lovely.


Share this video