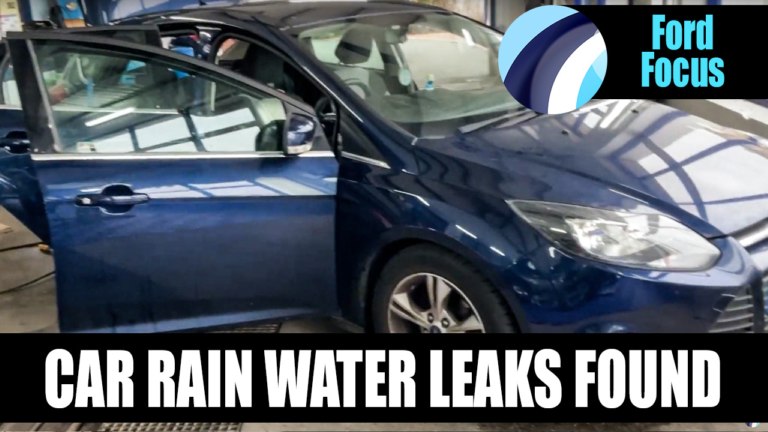
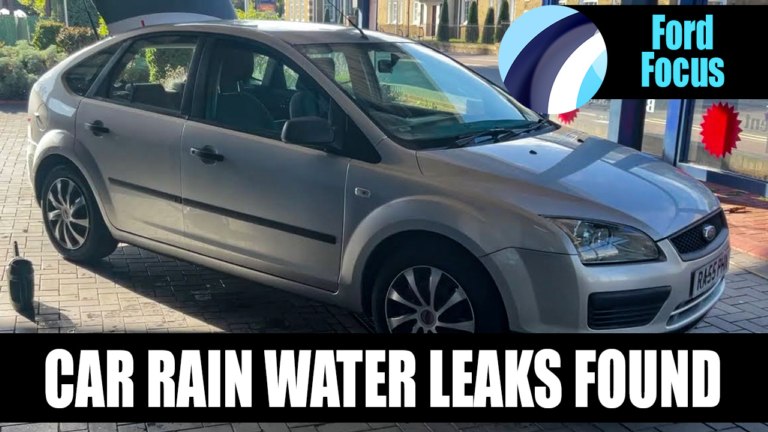
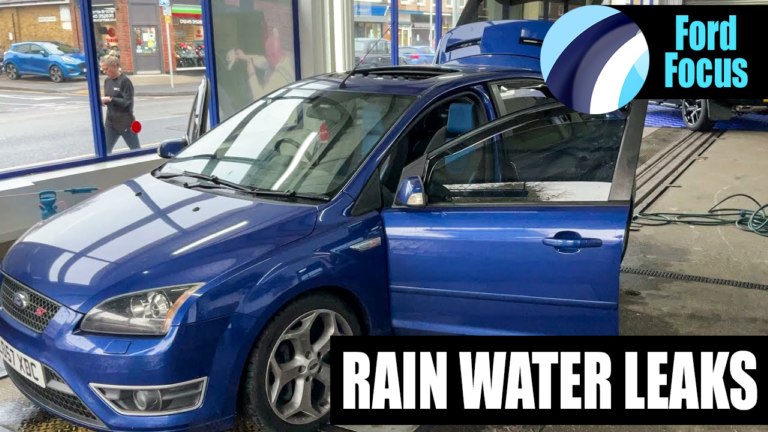
0:02 Today we have a 2005 Ford Focus in, so we're just going to show you what we've found so far after we've done our checks. So starting on the drivers rear door, we've put a lever in there just to open it up, and what we're going to do is we're going to pour some water down the gap, and what that should do is it should fall out the bottom of the door, which it is doing, but if we look very closely we can see it running out of the door membrane here.
0:27 So we've got a very small leak off the door membrane, and so we advise to obviously get that off and fix that there. The others don't seem to be leaking, but I think what we should do is maybe do an hours investigation, and possibly just to maybe check the others once we remove this and see what the problem is. The good thing is with this car, where it was parked up with its nose up, it's actually managed to catch the water to about here. I can't find any
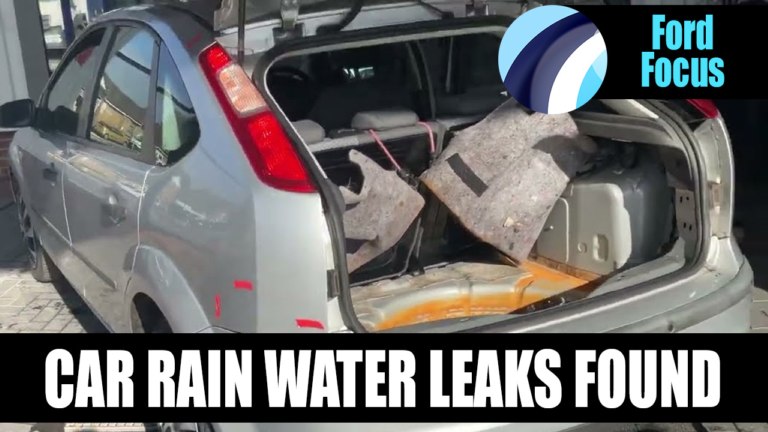
0:53 water in the footwells, on all four footwells, which is a good sign. And but we can see obviously evidence of the water sitting in here, it's all been UVA fogged as well. Coming round to the back now, so we can see how much water is in the boot, and we can obviously see all the run marks here. Now what we got is, we've got a camera down here, and what we're going to look at first of all is the blanking tape which they put on in the factory. So this is the blanking tape here, as you
1:22 can see. So what we're going to do is we're going to pour some water down the back of this bumper, simulating this out in the rain. So if I put you there and then put a bit of water on now, there we go. So we can see the water's passing in through there. Not only that, if I pull it back a little bit, we've got this bit here. This is your support for the rear bumper. Now it's not leaking heavily, but there is a little leak coming off, and
1:59 this is this bit here. So if we put a bit of water down back here, so we can see just on the end bit there, there's a little bit which is lit up around here and here, so that's got a slow leak on that there as well. Also if I can get down into where the air vent is, and as we can see there's water on the inside of the air vent in the grills, and so that's going to obviously show us that rear air vent is leaking as well. And if I can just hold the camera in a spot, so
2:39 I can put some water on the back of it. Okay, so we see a little bit of a gush coming through the side there, so it's leaking obviously through this bit here, and then obviously it's falling into the box section. And it's doing the same on the other side with the blanking tape. Blanking tape is leaking and the air vent as well, but this support doesn't seem to be leaking. Rear lights are okay. So now we're going to move up onto the top gutter strips, which are the welded seams,
3:10 and so we can see there, if we look very closely we can see that there is hairline fracture marks in the weld, and that little bit there is open. So what that would cause, it would cause water to run down on the inside and then exit through this little hole in here. Also if we look at the anchor points, we can see obviously there's a fracture there. This isn't leaking yet, but obviously after time, after it flexes, it will open up. Same again with this anchor point, so
3:41 we've got a tiny bit of obviously fracture here, which is obviously not leaking at the moment, but obviously it is going to start leaking obviously over time. Coming up to this side here, this side's a bit worse to wear. So we can see all the crack marks, if I go at an angle we can see how much that's opened up, so the water's going to get in through here, travel down on the inside just like before, and then it's going to make its way into the cart. So what we're going to
4:11 do is we're going to pour a bit of water up here so it sits on the weld, and then what that should reveal is a tiny little puddle on the inside, in that little square bit I just showed you. So we'll put loads of water in there, because it's got to have time to work its way down past obviously all the vents or the inner side of the car. Right, okay, so I don't know if you can see that, but we've got water there. But the water is running down just past that sill, so it's just running down here
4:46 and then collecting in this spot here. So we've got multiple leaks on the back here, and so hopefully obviously once we obviously get it all clean, get it all fixed and get it all dried, we recommend a overnight dryer so we can dry obviously all inside the box sections, because obviously the water's been running down. Okay, lovely. So there's a couple of things this can cause. So one, we've got rust. Two, it can obviously get electrical damp, i.e. this little box here, so the condensation can go on this box and it can cause issues. Also it can give
5:22 a smell, so a mouldy dirty water smell, as well as it will give a condensation on the inside. And that's why we have to make sure that we put our super dryer in now, so it's all nice and bone dry before it goes back. And there we go, that's everything we've found so far. And just to note as well, if we look at this rear bumper, we can see that the rear bumper is not aligned properly, and so it's possible it's maybe that may have been the nudge from previously, which have
5:52 caused the leaks on that side, but there we go. So we've just got an interim video on the Focus, and so I've now removed obviously the old rear vents, we've put the new rear vents in, and we've obviously blanked off the blanking plug as well on both sides. And this is where the bumper strut goes on, so obviously we've got our obviously copper grease on there. I also noticed a tiny fracture across here while I was obviously sealing these bits up here, so I've run a bit of sealant across there. Same on this side
6:24 as well, so we're slowly getting there. The door membranes being fixed as well, it was just a case of I've taped up everything and it was leaking out of this little hole here, so it's similar to one of these. So I've just put a bit of sealant around there, so that's that fixed now, so that's sorted. So the only thing we've really got left to do now is start to reseal the welded seams where I've chiseled them out. So we chiseled them out, primed them, and then
6:53 And what we'll then do is we'll re-seal them, same with that one as well, and that one, all the way across the back there as well. It's been a little bit bright there, there we go. So we've got it all the way across there as well. The back I've cleaned out as good as I can, so I've got a lot of the rust out.
7:13 We're probably going to do a bit of a freebie, we're going to wax spray this, put a bit of paper down and then put your spare in, so obviously it protects this. It won't get rid of it, but it's gonna protect it. So it's just a place. We're gonna put this drying machine in it tonight, so obviously it can dry out in order of bits and pieces. Got to put the rear bumper back on and then the lights back in, and as I say, just the gutter strips to do. Right, just showing a bit of
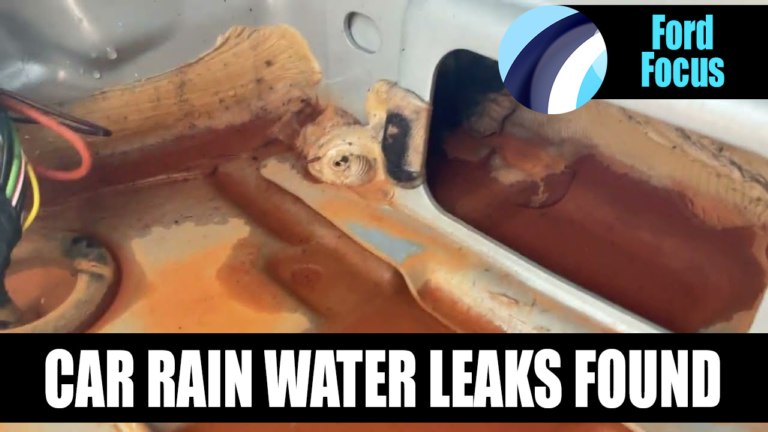
7:42 corrosion. Unfortunately though, this car's been leaking for so long that the boots been full of water. But look at the spare, so that's how deep it's been sitting and how long it's been corroded. I think the spares probably salvageable hopefully. We'll put an acidic product on that that will dissolve the metal. Yeah, that's the bucket that we use to clean up the, this. So we've got a special wax product that we'll give that a spray with, and then we'll put some paper over it so that it can still be used. And the paper, or cardboard actually, a nice
8:27 piece of cardboard will go over that, and then the spare can sit on that, so it'll work. And it's not big holes or anything, but had it have been left they would be. And if the water stops coming in then it won't corrode anymore. But you can also see there that clamping bracket that holds the back seat to start to corrode, albeit it's not too bad, because it hasn't been in the water. But if you look under here, you can see the evidence then of water getting past the electrics
8:58 there, which is not the greatest sign. We've got the in video on the full Focus, so it's had a courtesy wash. All the work that's been carried out has obviously been checked and everything seems to be fine. So gave it a quick courtesy back on the inside, courtesy clean on the outside, so everything's good. So it's all ready to go out into the actual environment, test it. And there we go, so she's all done, ready for collection, and she's all nice and dry as well. In the boot section there was no water under the front or the rear.


Share this video