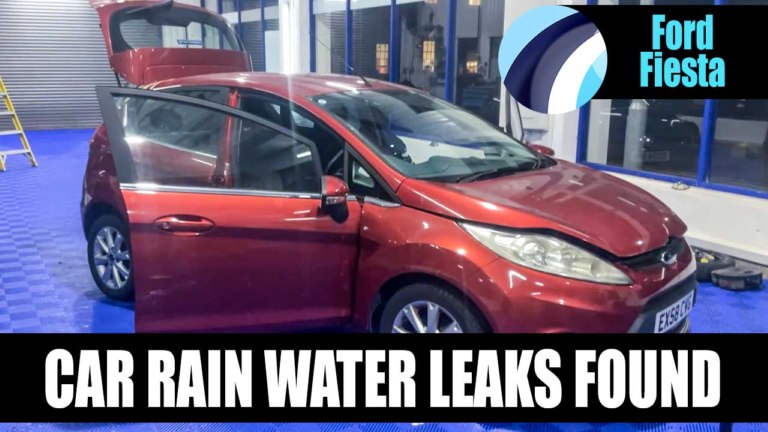
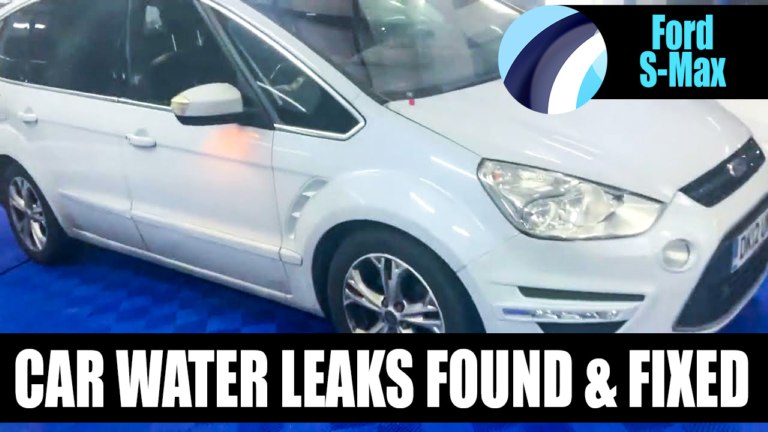
0:00 OK, we have a Ford Fiesta in today for our water leak procedure. It is a 2010 model, so we're just going to show you what we've found so far. All the water was collected in the boot area, there wasn't any evidence of any water inside the car. So we're just going to show you what we've found so far. So the first thing we're going to focus on is the air vents behind the rear bumper. So we've got the hose behind the rear bumper, simulating it's out, that it's raining, and we have our flexing hammer here, which is going down that
0:28 little box section now. So if I just put my camera on here, just so you can see where the camera is. There we go. Right, okay, so we can see that it's coming, making its way past the rear air vent on the passenger side. So you can see that the water's passing through the vents. So it's leaking on the passenger side. It doesn't seem to be leaking on the drivers, but obviously we do advise changing the pair. So that would be our first leak, on that vent down there.
1:00 And then what that would do is fill up the box section and work its way into the boot area. And quickly moving on to the next side. If we go into this little hole here, with our flexi camera. Okay, so we've got our flexi camera down in this little bit of a corner here.
1:20 And what I need to do is, okay, so we can see on the camera here, we have some blanking tape. So we can see on that blanking tape, it's hanging off. So what that's then doing is, if we just get a bit of water and we're gonna just pour it on the outside of where the light is.
1:38 And then what that then should do is it should simulate that the water is then falling in the car. So there we go, we've got little bits of signs there, nothing major, but obviously we can see the flap hanging off, and then that's then gonna work its way down. It will sit on top of the air vent, which we can see there's a tiny bit of water here, and then it's then filling up.
2:02 So that's the two we found on the back. Now if we focus on these top points up here, these are the cracked welded seams. So what we're going to do is, if I put a bit of water on this side first of all, so we've put a bit of water up in this top corner, just simulating this out in the rain.
2:23 And then what we should do is we should start to see some water starting to form. There we go. So it's starting to fall out there. That's just where I'm putting the water on. So that's me just putting water on this top corner here. And then if we come over to the other side, so we're on the passenger side now, this passenger side leaks a little bit more.
2:47 So what we're gonna do is we're gonna put water in this top corner. And then if we quickly go on the inside, there we go. So we can see it leaking in quite quickly there. So it's running down on the inside of the box section. Then what it then does is it basically fills up this pocket, as we can see down there. So it's filling up this pocket, and then what that would then do is it then runs off into the spare wheel holder. So there we go, that's all the leaks we've
3:24 found so far.


Share this video