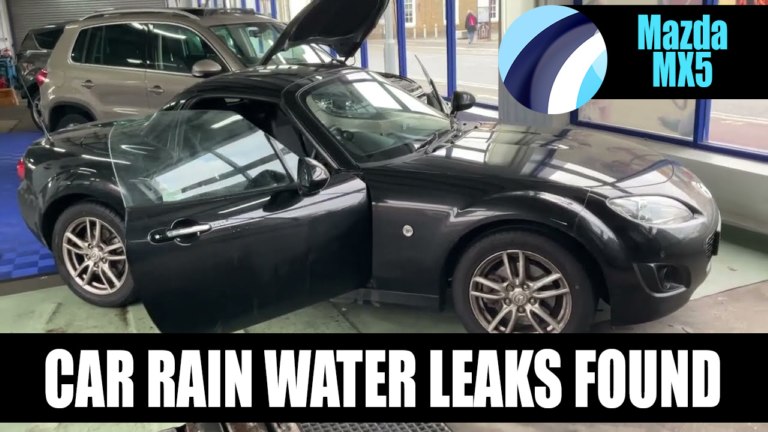
0:03 So, a car that I've bought named Mazda 3 complains that water is actually being in the boot area. What I'll do is I'll just get my diagnostic meter out, just to make sure there's no sort of spread anywhere. Just because you may have a leak in the back, or you may even have a leak in the front, but just depending on how you park your car, all things like that, you can get water appearing elsewhere. It seems to be damp down here.
0:35 Having water under the underlay isn't particularly good, just because you can get things such as mould and mildew start to appear, and that's not particularly good for anybody. It's also wet underneath here, you can see there it's actually off the charts. If you go around to the driver's side. But yeah, obviously when you've got water actually appearing on the surface of the carpet, that's when sort of want to get rid of it as soon as possible, just because it tends to oxidise at a much quicker rate. So yeah, this one is soaked all the way through as well.
1:25 Let me check in the driver's side front. So this one's not as bad, as you can see it's not showing up to be actually that wet, only very slightly there. So it's wetting three foot wheels this one. It's especially wet in the back, which is understandable. Right, what we found is, I'll go over what we found. So first of all these door rubbers, you see they're not actually sealed on, you see I can just literally pick them off, just no pressure at all, and there's no sort of
2:08 sealing behind there. It's the same for all of these, so you can see this one here, it's just, because it comes off so easily. So basically what we do is we take them off, we will then clean them up, and then we put a sealant on the inside, right on the inside of the lip here, just so that basically it sits flush. Because when it's not sealed on like that, water can get down here and get under that groove, and make its way into the channel with the actual rubber,
2:39 and it makes its way all the way down, and starts to unload into the carpet underneath the trim. What we've found is also, now on this one the scuttle area is good, rear lights and rear vents work fine which is great, the roof rack is testing up fine which is good. But what we've found is, so what I do, is I make my way to the front of the event first, and I'll show you all it takes is I put some soapy water just down here along this seam,
3:12 and then what I do is I get an airline test, or an airline outside. So what that's basically doing is that he's letting water come through underneath there. That can be travelling all the way down into the glove box, or the box section sorry, which is then obviously at risk of electrical faults, things like that. It's actually quite surprising that this footwell wasn't wet, but obviously it can be stored up in the box section. Obviously to get there, it's got to go past all the ECU. But yeah, you can see this is leaking
4:20 pretty heavily. So I don't know, it is a replacement screen, as you can see there. So obviously when they put this screen on they haven't done something correct, more likely they haven't put enough sealant on there. As you can see, there's a few gaps in between, so we'd have to get a quote for the windscreen to be taken out and refitted on that one. Also, if you come along to the back of the vehicle where the majority of the water was making its way into the boot well, put some soapy
4:50 water again down these seams here. Like I said, rear lights and rear vents work fine on this one, which is good. If I show you, so you see there. Right, so just create on the Mazda 3, you can see we've got the windscreen out right now, to the boys taken out. But you can see there, there's actually a gap down this lip here where the seal wasn't put on properly. If you go around to the windscreen, you can see how much of a gap it is. Take a look at that, that's why it
5:33 was leaking so bad. You saw all them bubbles coming through, so now you can kind of get the picture of how that's actually happened. So yeah, just a quick update, that's all, but all's going well so far. Okay, just a little update video for you. So the screen has all been put back in, all refitted. It's now over on our wash bay. It's under our rain arch, so it's all going to be sat under heavy rain for about half an hour or so. The car's already had a quick
6:02 courtesy wash, and now we're just gonna let it sit in the rain for a while to test up all of our repairs before it can obviously go out into the real world. So we'll let it just sit there for a while, do its thing, and we'll come back and see if it's all dry on the inside.
6:19 Okay, so just another update for you. Obviously we've gone through all of our testing stage. The top weld it seems that have all been sealed up, which was the primary leak, have all been resolved, so we're confident that they are all holding water tight and don't have any issues there. However, we were still finding a tiny little bit of water in the boot, so we've popped this cover back again and we can see a very small amount here which trails back to basically behind what looks like
6:51 behind the bumper. So what we would ask is basically some further investigation time, so we do a two hour further investigation block. Within that time we take the rear lights out and pop the rear bumper off to then see what is going on behind it, and say it's sort of in this section here. So we've done the rest of our testing, we're confident that the initial 28 point check has obviously picked up all the things on that check, things like those top welded seams that were leaking down on both sides. So we're confident, as I said, that
7:30 they're fine, but it does look like it's just a small other leak which we can only get access to if we take the bumper off. So as we can see from the rain arch video, it's all been under our testing stages. I'm happy to say that it's all looking nice and dry. We just opened up the boot area, all of that is now back together, and put your dehumidifier back in there as well. I lift up the part of the carpet and seal it, all that's back together and all nice and dry on the inside, so no
8:08 issues there at all. Put that back down. Obviously the top load of seams, they've all been done. We've done a bit of work behind the rear lights and around the top of the bumper which needed sealing, but that is all done now. So we normally say the car needs to go out and have its real world test now. So by that we mean obviously vehicle needs to go out, be driven as normal, parked as normal, and then just check those common places that you were finding water before.
8:36 We normally say for the first three heavy downpours, just to make sure that it is all good. But apart from that, paperwork is all done for you, so the car is ready to come and collect whenever you're ready.


Share this video